
Are you Looking for “How to Fix “Oops looks like the page is lost. This is not a fault just an accident that was not intentional.” Error?” (or) “How to Fix WordPress 404 not found?”.This Post will help you.
This error message “Oops looks like the page is lost” usually appears on the Wordpress-based Website. This error message generally appears on websites that are not found or accessed. This Message Informs the Users that the Website is not reachable due to technical reasons. This Can Happen for Many Reasons Such as broken links, a temporary server issue, or removed pages. This Error Message is often accompanied by a “404 Error” code, which is nothing but “Not Found.”The Most Common Reasons for these Issues are the Content on the website might be removed or moved to a different URL, making mistakes while typing the URL in the address bar. The Content of the page like files, images, and videos is deleted or moved.

This Issue can also happen if you move your hosting to a different server. But this can resolved quickly. This Error also happens when you’re hosting account has been deleted or suspended by the hosting company. The Easiest Ways to Fix the Issues are Restarting your browser, Clearing the Browser’s Cache, And Try Opening the Page in the Incognito Tab. This Error “Oops looks like the page is lost. This is not a fault just an accident that was not intentional.” can be fixed easily. Just Follow Our Guides/Tutorials Given Below Carefully.
Also Read this Article: How to Fix the “The Sponsored Listings displayed above are served automatically by a third party. Neither Parkingcrew nor the domain owner maintain any relationship with the advertisers.” Error Easily?
Steps For How to Fix “Oops, looks like the page is lost. This is not a fault, just an accident that was not intentional.”Error?
Method 1: Clear your browser’s cache or use incognito mode
Step 1: First of all, Open Google Chrome and Click on the “Kebab Menu” (or) “Three Dots Menu” and Select the History Option.
(or)
Open Google Chrome and Type the Following Address in the Address Bar / Search bar.
chrome://settings/clearBrowserData
chrome://settings/clearBrowserData
Step 2: On the History Page, You Can See the Option Clear Browsing Data. Just Click on it.
Step 3: Now, You can Either Choose the Basic or Advanced option and Choose the Time Range and click the Clear Data Button (or) Click the Advanced Tab and Select all the Options and Hit the Clear Data Button.
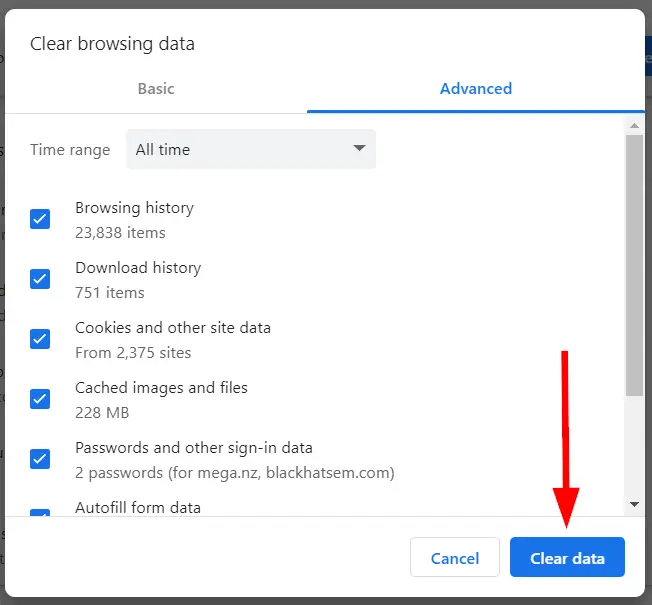
*Note – You Can Also Use the Incognito Mode to check whether the Website is live or not.
Method 2: Check your SSL certificate / Change the SSL Settings to Flexible
If You’ve already Installed the SSL, then check Whether the SSL Certificate is Valid or not and also check whether Your Site has any misconfiguration with SSL.
If you’re using Cloudflare, then you can also check whether your domain is correctly pointed to Cloudflare Nameservers or Not.
If you’re using Cloudflare SSL, then follow the below Steps Carefully.
Step 1: First of all, Go to the Cloudflare Website, and log in to Your Cloudflare account.
Step 2: After Logging into your account, Click on the Websites Option from the Left Side Pane.
Step 3: Now Click on the Particular Website name that was displayed on the list of Websites Page.
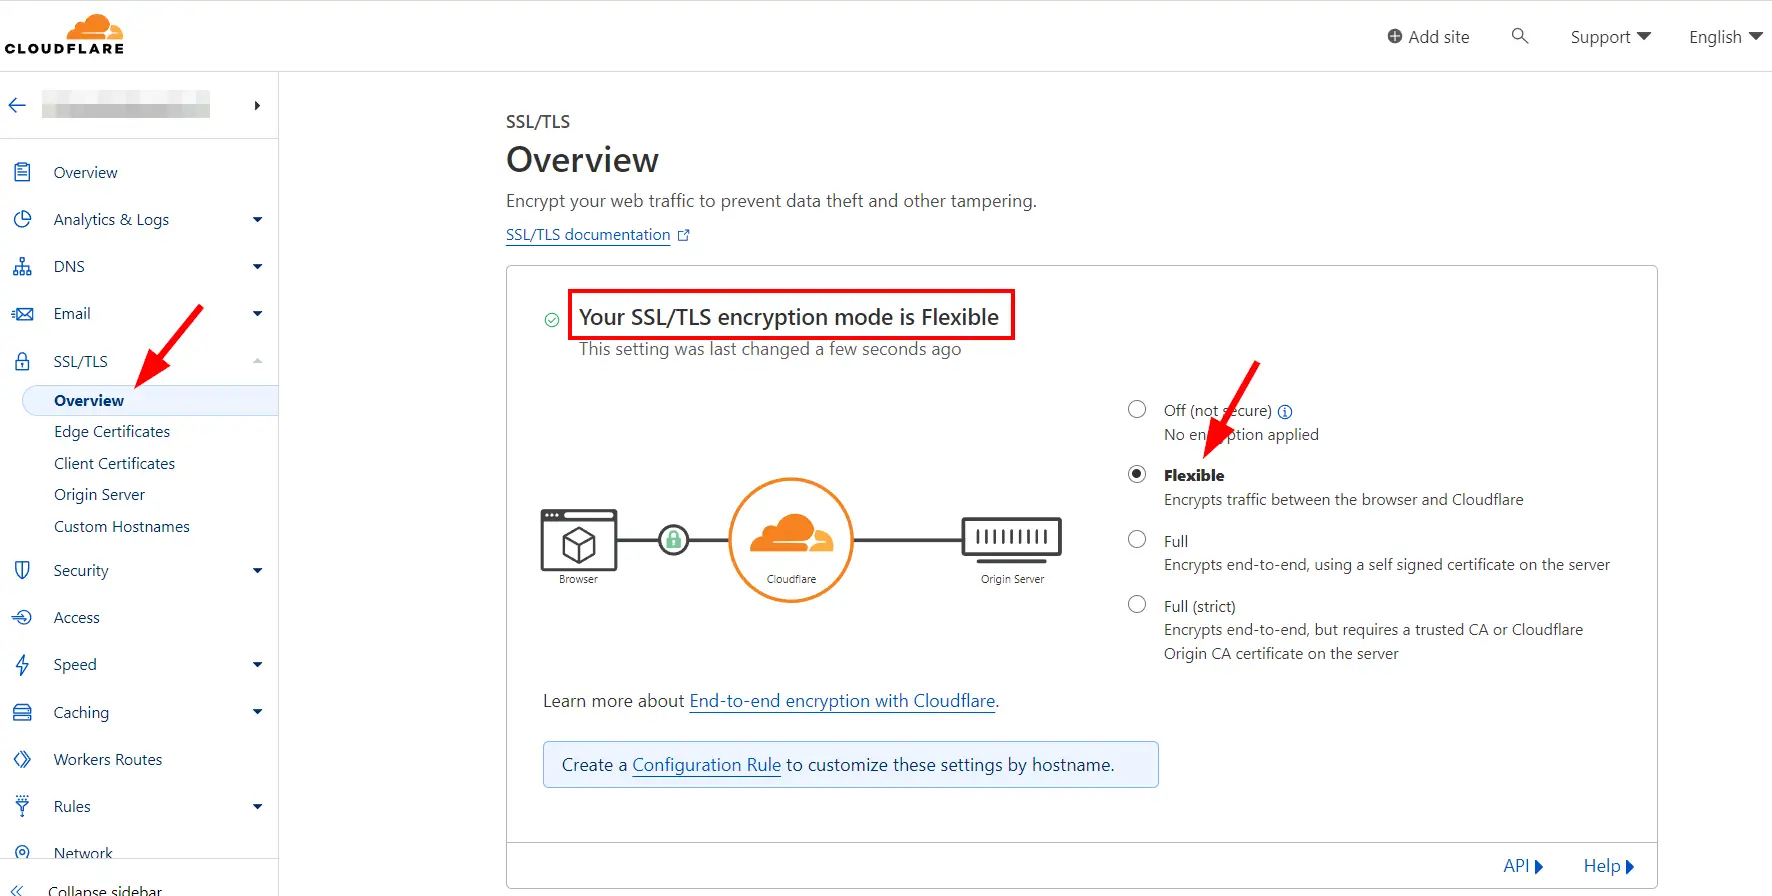
Step 4: On the Left Side Pane, You can see the List of Options. Just click on the SSL/TLS Option.
Step 5: Under SSL/ TLS Services, You can see the Overview Option. Click on it. Now SSL Overview Page, You Need to Change the SSL Setting to Flexible.
Step 6: Close the Cloudflare page and Refresh your Website.
Method 3: Update Your WordPress Site Permalink Settings
Step 1: First of all, Goto your WordPress Admin Page and Log In to Your Wordpres Account
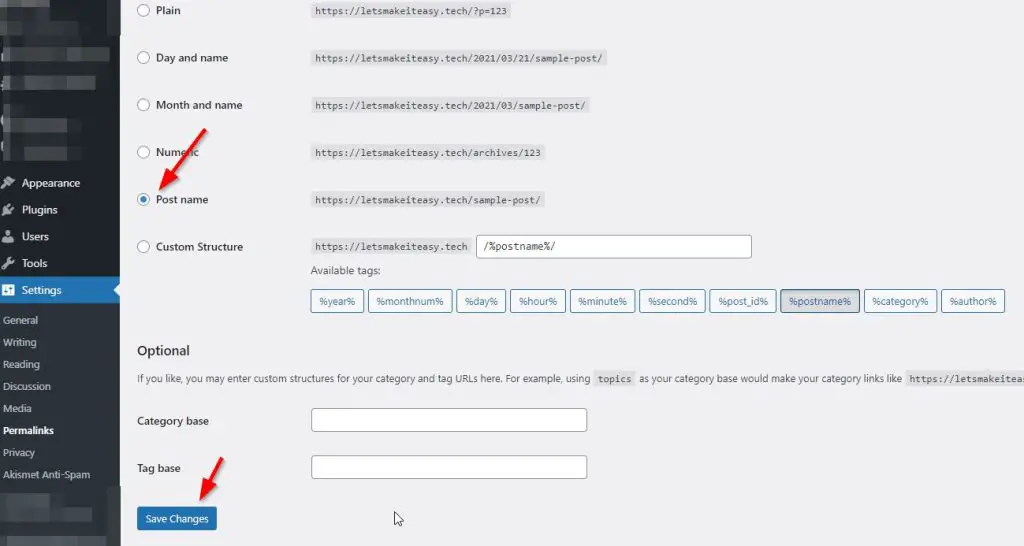
Step 2: From your WordPress Dashboard, Navigate to Settings and Click on the Permalinks Option.
Step 3: Now Click any one option and press Save Changes and then again select the old option and Hit the the Save Changes button.
Step 4: Now You Can Check Whether the site is working or not. If Not Working, Try the Other Methods.
Method 4: Insert a Code into the Wp-Config.php File
Step 1: Go to Your Hosting Website and Log in to Your Hosting Account. Navigate to your Website C-panel Dashboard.
Step 2: On your C-Panel Dashboard, Look for the File Manager Option and Access Your File Manager. You Can Also Access the Files Using File Transfer Protocol (FTP).
Step 3: On File Manager, Search for the wp-config.php File & Edit your wp-config.php file, and Edit this line by Changing the False Setting to True.
If You Can’t Find this Line then Just Add this Line into your wp-config.php file.
define(‘FORCE_SSL_ADMIN’, true);
define(‘FORCE_SSL_ADMIN’, true); Step 4: After Adding this line to your wp-config.php file, Just Go to your Website Dashboard Page.
Step 5: From your WordPress Dashboard, Navigate to Settings and click on General Options.
Step 6: Now You Can see the WordPress Address (URL) and site Address (URL).If the Address is in the HTTP, then You Need to Change the HTTP to HTTPS.
WordPress Address (URL) – http://example.com —> https://example.com
Site Address (URL) – http://example.com —> https://example.com
Step 7: After Changing the Address Settings, Press the Save Changes Button to Save the Changes that you made and Refresh the Website.
Method 5: Reset Your DNS Resolver Cache.
To reset the DNS resolver cache, perform the following steps:
1.Using Command
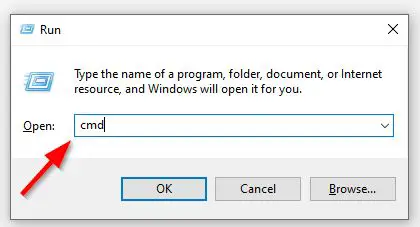
Step 1: First of all Go to Start and Type Cmd or Command Prompt Or Access Command Via Run Program.
Step 2: Right-click Command Prompt, Just choose “Run as Administrator”.
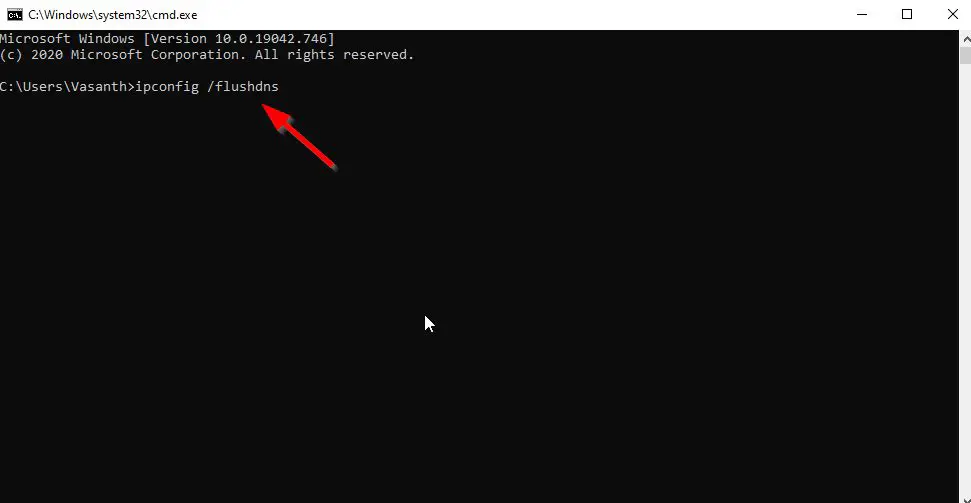
Step 3: Now Just Type ipconfig /flushdns and press Enter.
(Important Note – There Must be a space before the slash)
Microsoft Windows [Version 10.0.19042.746]
(c) 2020 Microsoft Corporation. All rights reserved.

C:\Users\Username>ipconfig /flushdns

Windows IP Configuration

Successfully flushed the DNS Resolver Cache.
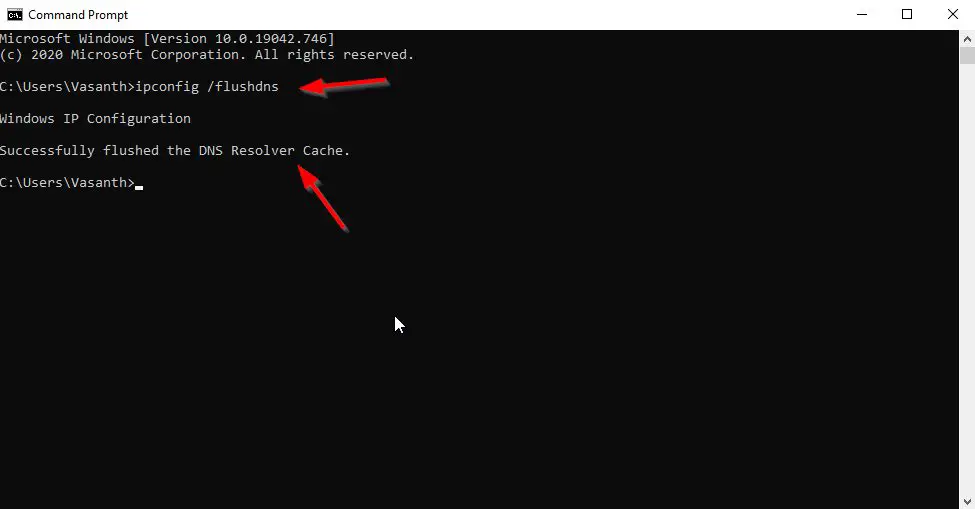
Now You’ll See a Message Like This
Windows IP Configuration
Successfully flushed the DNS Resolver Cache.
* Your Command Prompt Will Look Like This *
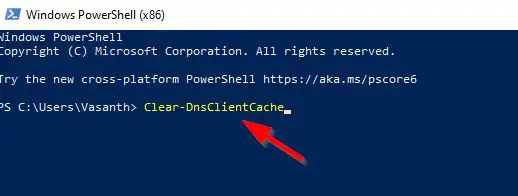
2. Using Windows PowerShell
Step 1: First of all Go to Start and type Powershell or Open Run Program And Type Powershell.
Step 2: Right-click Windows Powershell App, Just choose “Run as Administrator”.
Step 3: Type the Following Command And Press Enter.
Clear-DnsClientCache
Clear-DnsClientCache
Method 6: Contact the Website Support Team
If the problem persists, you can contact/ Reach Out the website’s customer support or technical team for assistance. They will provide proper information on the issue and give you the right solution for the issues. This Problem may also happen for various technical reasons. If the problem is from their side they will fix the issue quickly.
Leave Comments and Ask Your Doubts, We are here to Help You!

Thank you sir my problem is solved