
Hi Guys, Today I am Going to Show You How to Delete the Windows.old folder in Windows 10 & 11 Easily?
Are you Looking for the Commonly Searched Term “How to Delete Windows.old folder from windows 10,11?” (or) “How to Remove Windows.old folder in Windows 10 & 11?”.
Let’s See about it.
Five Ways to Remove/Delete the Windows.old Folder Permanently

1.Using Windows Storage Cleaner.
2.Using Storage Sense
3.Using Disk Cleanup
4.Using Take Ownership
5. Using Command Prompt
Check Out This: How to Fix An Automated Wordpress Update has failed to Complete – Please attempt the update again now Error?
Steps For How to Delete the Windows.old folder in Windows 10 & 11 Easily?
Method 1: Using Windows Storage Cleaner.
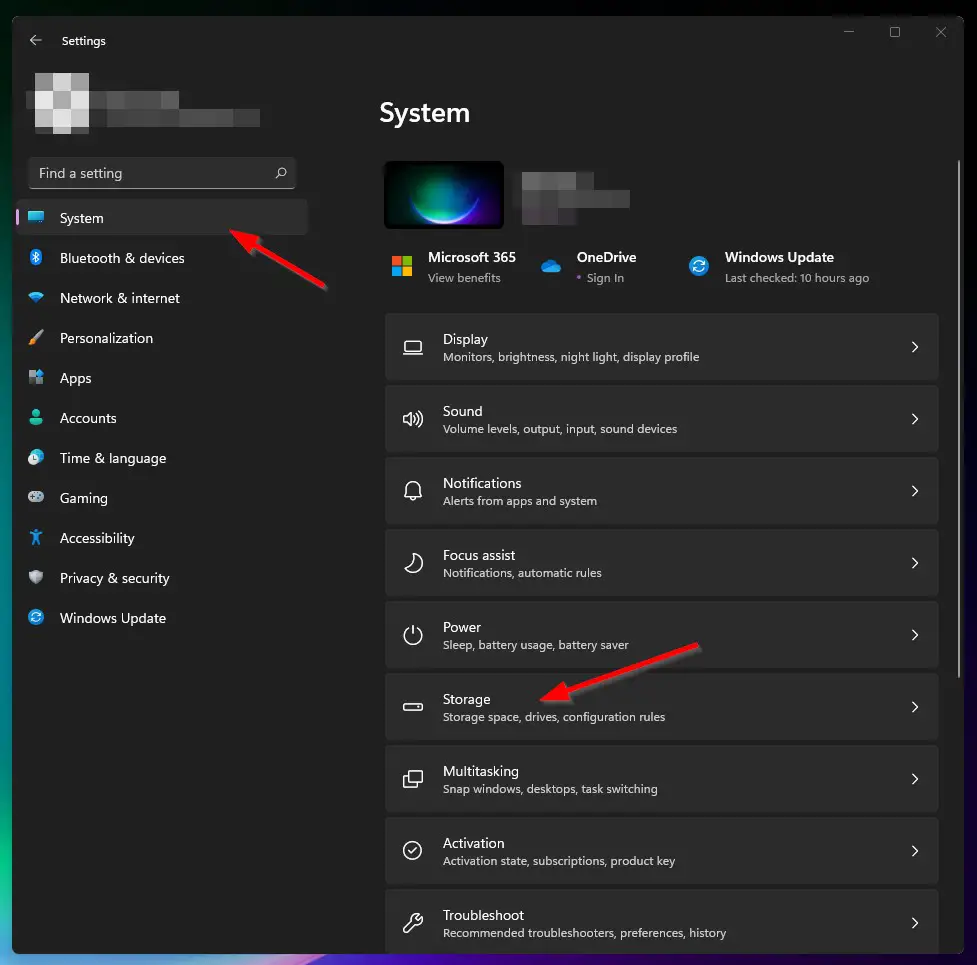
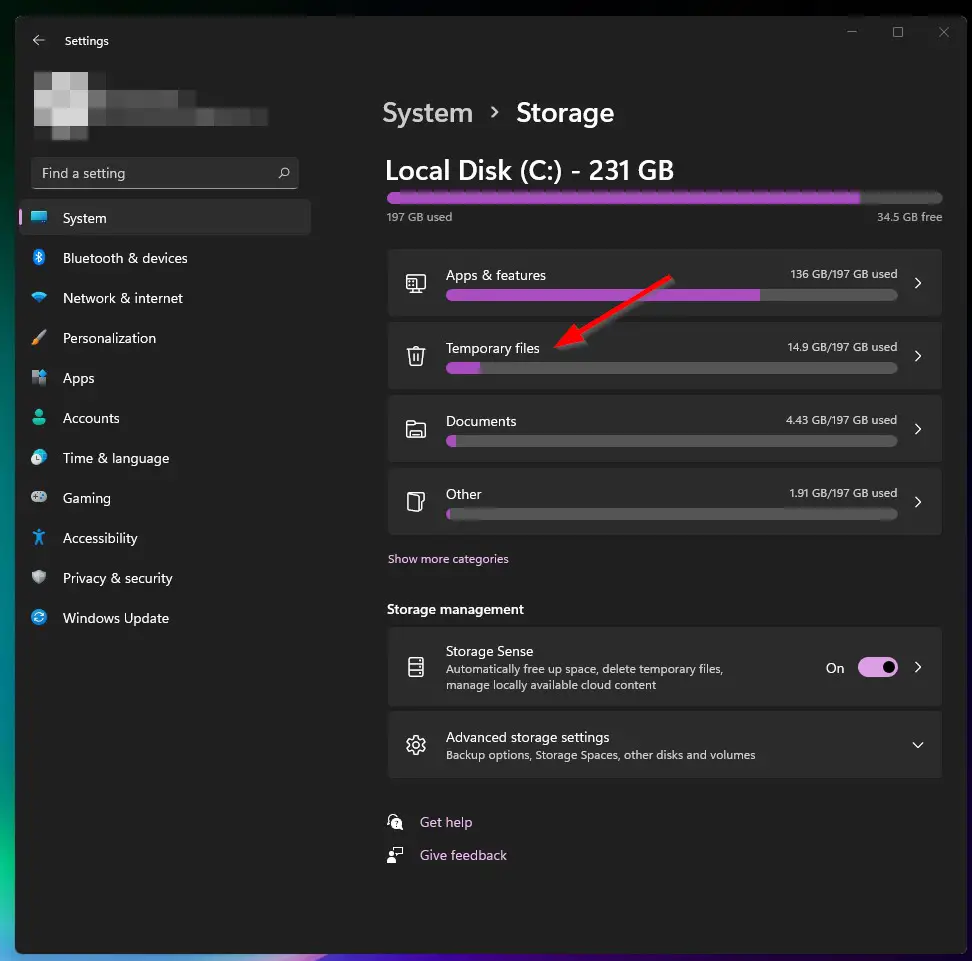
Step 1: First of all Open your Settings and Navigate to System Tab and Click on the Storage Option.
Step 2: Now Click on the Temporary Files Option.
Step 3: Select the Previous Windows Installation Option and Click the Remove Files button.
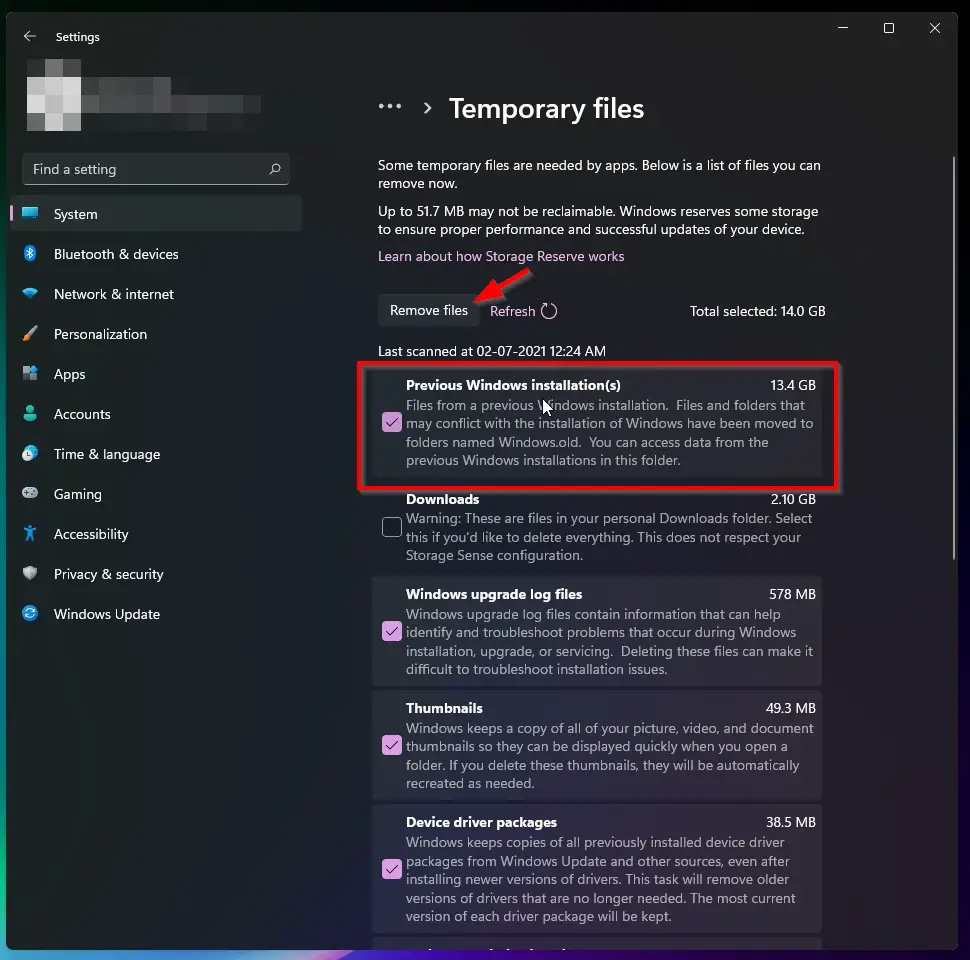
Step 4: Just Wait for Process to Complete. When the Process is Completed, Windows.old Folder Will be Removed.

Method 2: Using Storage Sense
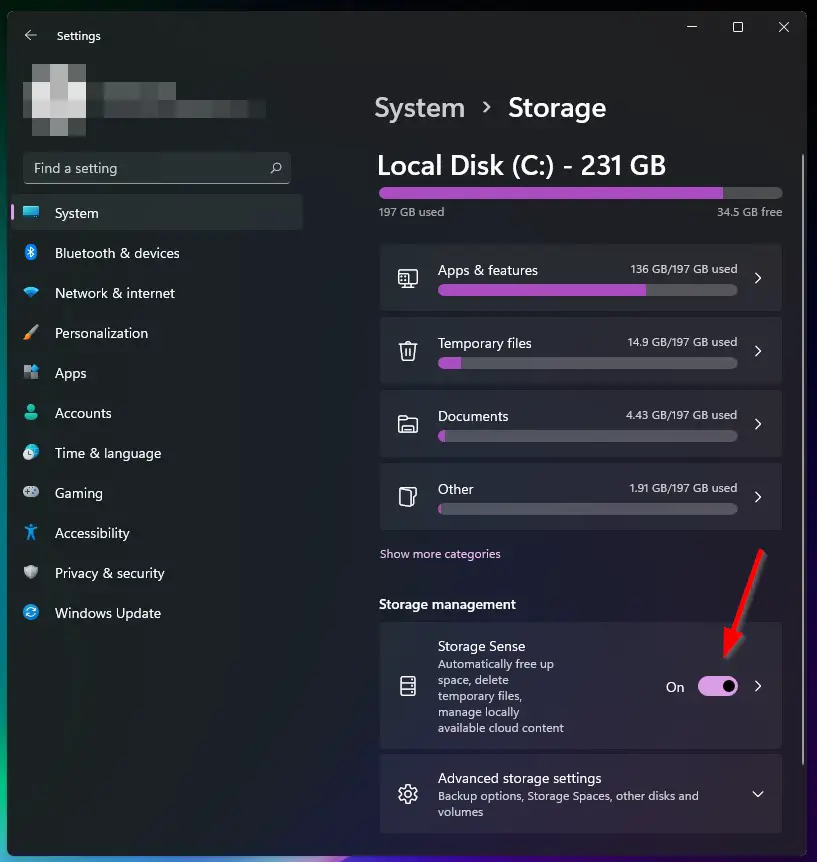
Step 1: First of all Open your Settings and Navigate to System Tab and Click on the Storage Option.
Step 2: Under Storage Management, Turn On Storage Sense Option.
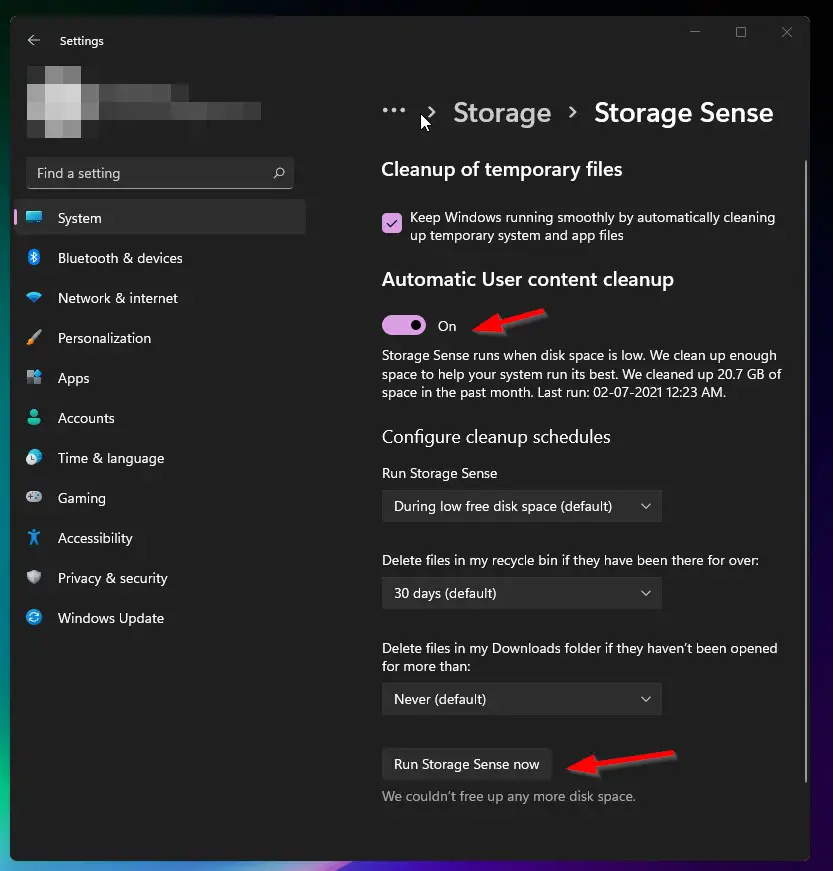
Step 3: Click on the Storage Sense Settings and Turn On the Automatic user Content Cleanup Option.
Step 5: Now Click on the Run Storage Sense Now Button.
Method 3: Using Disk Cleanup
Step 1: Goto Your Local Disk Where Your Windows.old Folder is located.
Step 2: Just Right Click on the Local Disk and Select Properties.
Step 3: Now Click on the Disk Cleanup Option.
Step 4: Select/Check the Previous Windows Installation and Click the Clean-up System Files button.
Method 4: Using Take Ownership
Step 1: Now Download Take Ownership From Below Given Links
## Download Take Ownership for Windows 10 ##
Step 2: After Downloading Extract the Contents and Use the Registry Method.
Step 3: Now Double Click the Add Take Ownership to Context Menu and Click Yes in Dialog Box to Add the Registry.
Step 4: Now Ok to Continue to Next Process.
Step 5: Right Click Windows.old folder And Select Take Ownership & then Delete the Folder.
Method 5: Using Command Prompt
Step 1: Go to the Search bar and Search for Command Prompt and Run it as Admin.
Step 2: Just Enter the Following Command and Hit Enter.
RD /S /Q %SystemDrive%\windows.old
RD /S /Q %SystemDrive%\windows.old
(Or)
Enter the Following Commands One By One and Press Enter.
Step 1: Just Enter the 1st Command and Hit Enter.
takeown /F C:\Windows.old\* /R /A
Step 2: Enter the 2nd Command Given Below and Hit Enter.
cacls C:\Windows.old\*.* /T /grant administrators:F
Step 3: Enter the 3rd Command Given Below and Hit Enter.
rmdir /S /Q C:\Windows.old\
takeown /F C:\Windows.old\* /R /A

cacls C:\Windows.old\*.* /T /grant administrators:F

rmdir /S /Q C:\Windows.old\
That’s It. You’re Done. Have a Nice Day.
That’s All About this Post. Give Your Reviews / Reactions about this Post and Leave Comments, Ask Your Doubts, We are here to Help You!