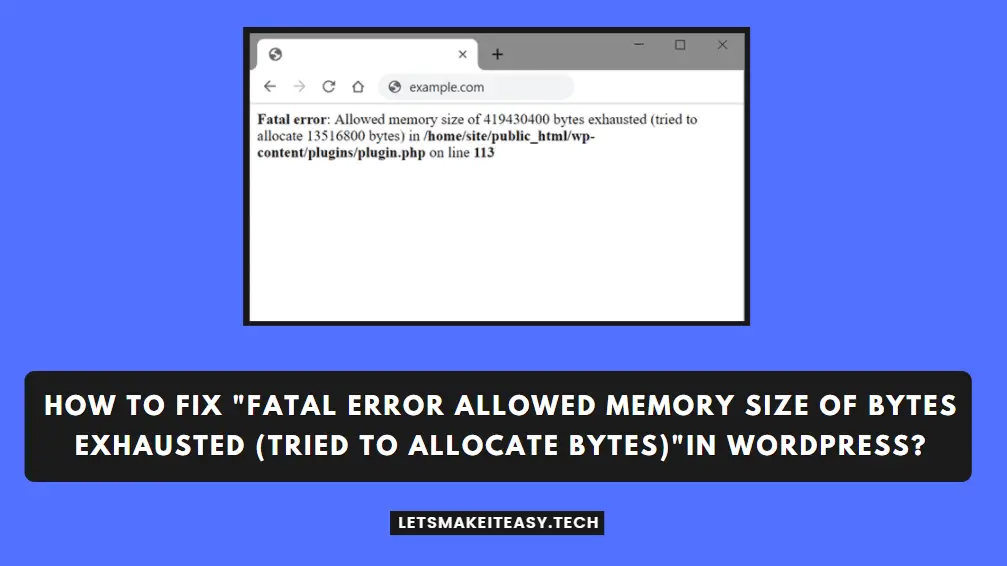
Hi Guys, Today I am Going to Show You How to Fix the”Installation Failed could not Create Directory” Error in Wordpress?
Are you Looking for the Commonly Searched WordPress Error “Installation failed: Could not create directory WordPress” (or) “how to fix installation failed: Could not create a directory in WordPress”.Here is the Solution to Fix this Common Issue That has been faced by WordPress Users including myself.
Let’s See about How to fix this issue?
Check Out This: How to Transfer a Domain Easily from One Registrar to Another (In 3 Steps)? | Step-By-Step Domain Transfer Tutorial

This Error can be easily fixed via two ways.
1.Changing the File Permissions in C-Panel.
2. Creating a New Plugins Folder.
Steps For How to Fix the”Installation Failed could not Create Directory” Error in Wordpress?
Method 1: Changing the File Permissions in C-Panel
Step 1: First of all your Hosting C-Panel and Access the File Manager (or) Access the File Manager Via FTP.
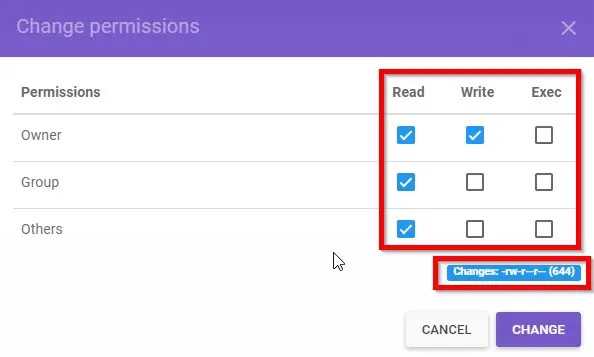
Step 2: Now Open the Public_Html Folder and Right Click on the wp-admin, wp-content,wp-includes Folders and Select the Permissions Options.
Step 3: Change the Permission Value to 755. ( drwxr-xr-x)
Important Things to Know !
drwxr-xr-x (755)
d- Directory, r-Read, w-Write, x-Execute
-rwxr-xr-x (755) — The user can read, write and execute permissions; the group and others can only read and execute.
-rw-r–r– (644) — Only the user has read and write permissions all others and the group can read-only.

Step 4: Now Change the Permission Value for the rest of the files other than the Three Folders to 644. ( drw-r–r– )
Step 5: Refresh the Page and Go to WordPress Plugin Store and Install the Plugin Now.
Method 2: Creating a New Plugins Folder
Step 1: First of all your Hosting C-Panel and Access the File Manager (or) Access the File Manager Via FTP.
Step 2: Now Open the Public_Html Folder and then Open the wp-Content Folder.
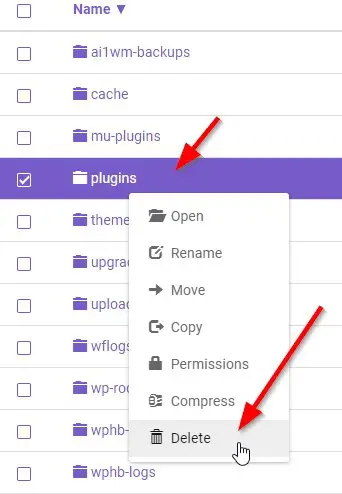
Step 3: Now Backup the Plugins Folder (or) Just Copy-Paste the Plugins Folder into Different Directory.
Step 4: Delete the Plugins Folder and Create a New Folder and Name it as Plugins.
Step 5: Go to WordPress Plugin Store and Install the Plugin Now.
Step 6: After Installation Goto the Plugins Folder Which you already Backed up, Just Copy-Paste the Folders which are inside the Older Plugins Folders to Newly Created Plugins Folder.
That’s It! You’re Done Man!
That’s All About this Post. Give Your Reviews / Reactions about this Post and Leave Comments, Ask Your Doubts, We are here to Help You!