
Hi Guys, Today I am Going to Show You How to Turn On/Enable Optional Diagnostic Data in Windows 10 & 11?
Are you Looking for the Commonly Searched Term “How to Turn On Optional Diagnostic Data in Windows 10 & 11?” (or) “How to Optional Diagnostic Data in Windows 10 & 11?”.
Let’s See about it.
Check Out This: How to Enable Trusted Platform Module (TPM) v2.0 in Bios in Gigabyte Motherboard?

Hi Guys, I am Going to tell you How to Turn On/Enable Optional Diagnostic Data in Windows 10 & 11?
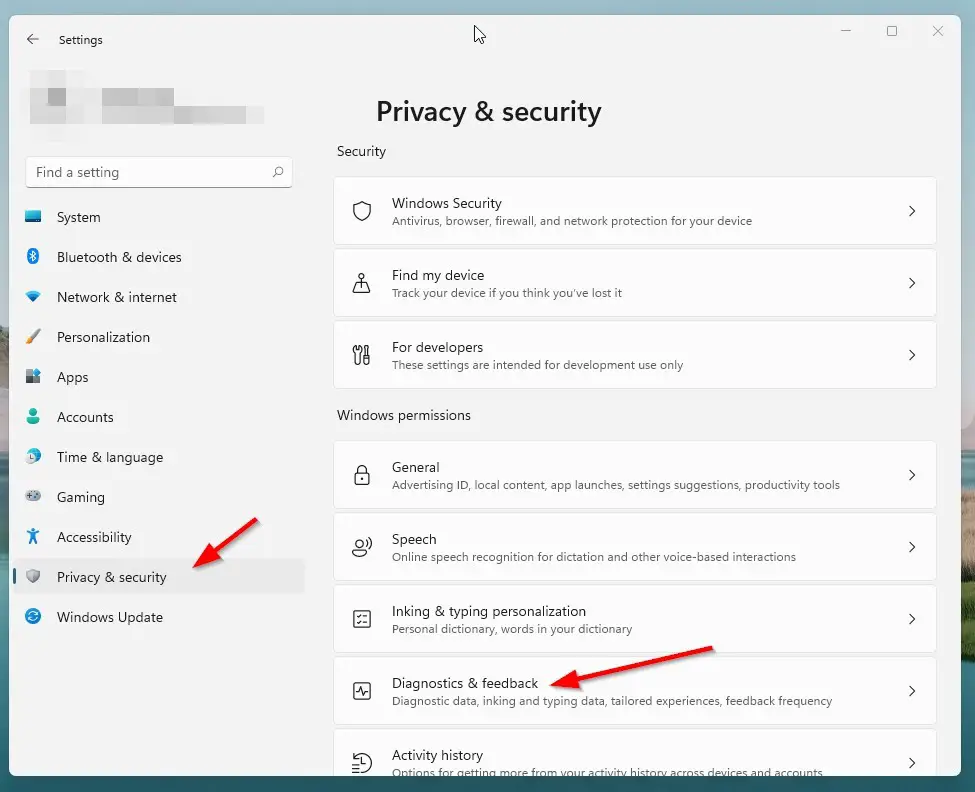
Step 1: Goto Search Bar and Search for “Diagnostics & Feedback settings”.
(or)
Go to Settings and Navigate to Privacy & Security and Click on the Diagnostics & Feedback.
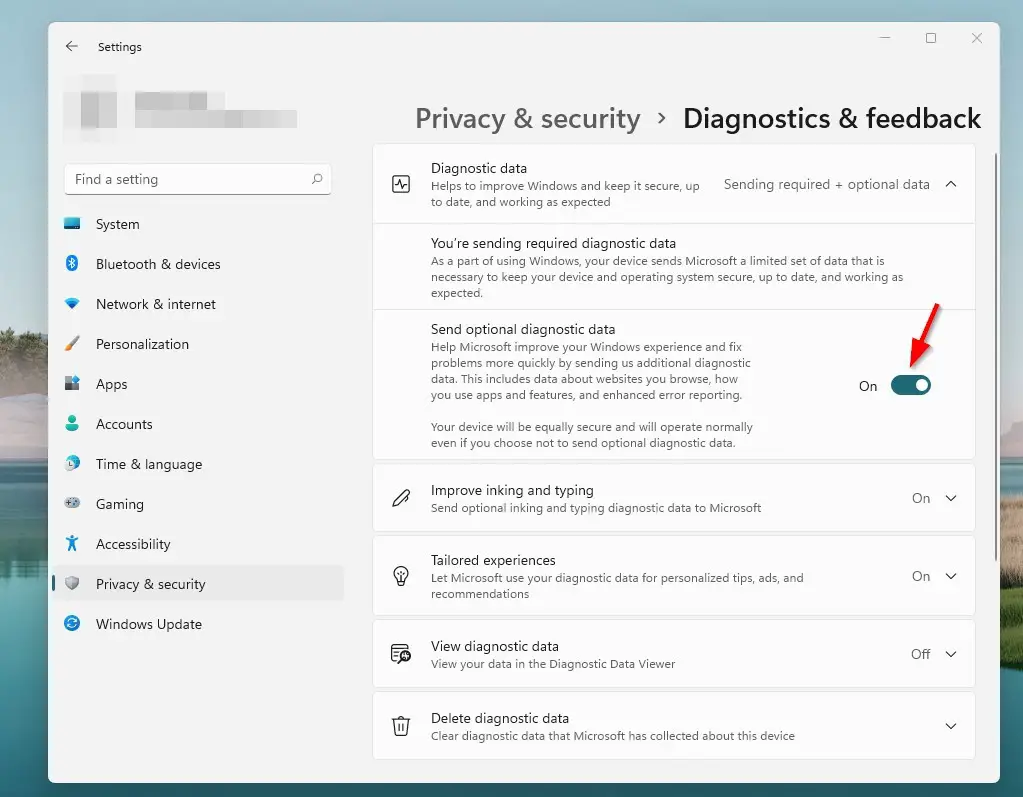
Step 2: In Windows 11, Just Turn on the Send Optional Data. For Windows 10, Just Change the Basic Option to Full . (or) Change the Required Diagnostic Data to Optional Diagnostic Data.
*Note – If You’re Not Able to Change the Settings to Optional/Full Diagnostic Data, Then View this Article To Fix the Errors.
That’s It! You’re Done Man!
For More Information on Windows 11 System Requirements & feature-specific Requirements & Feature Deprecation and Removal.
Visit – Microsoft Windows 11 Official Page
That’s All About this Post. Give Your Reviews / Reactions about this Post and Leave Comments, Ask Your Doubts, We are here to Help You!