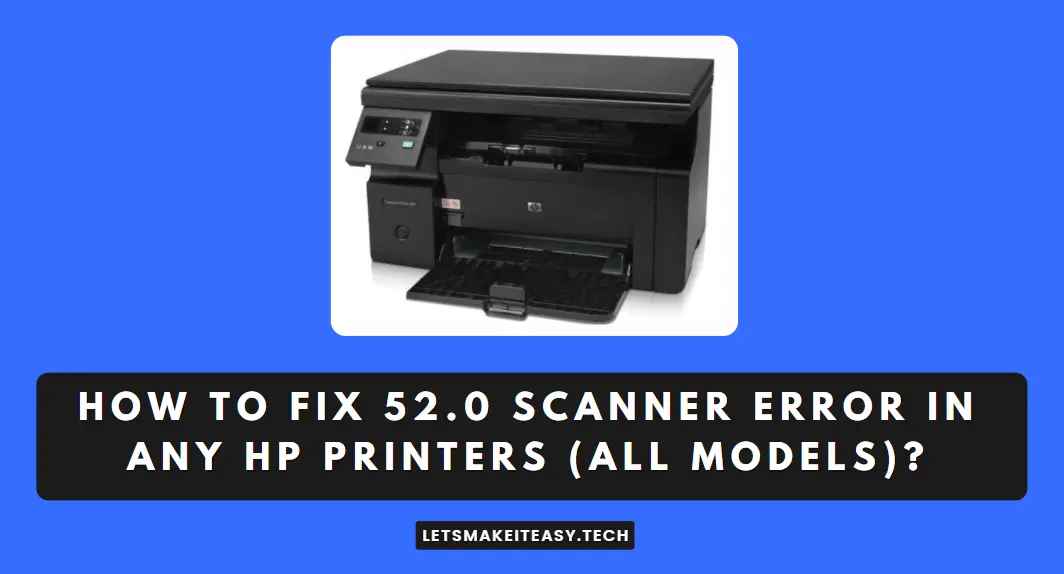
Hi Guys, Today I am Going to tell you How to Fix 52.0 Scanner Error in any HP Printers (All Models)?
Check Out This: How to Install & Run Google Playstore in Windows 11 Without Using any Emulators?
Are you Looking for the Commonly Searched Term “How to Fix 52.0 Scanner Error in HP Laserjet Printers?” (or) “How to Fix Scanner Error 52.0 in HP Printer?”.
You are at the Right Place to Get Your Answers & Solve the Issue/Error.

Let’s See About it.
Laser Scanner Assembly is the Main Cause of this 52.0 Scanner Error Issue. This issue can be fixed by Either Replacing the Laser Scanner assembly or Cleaning the Laser Scanner Assembly.
Steps For How to Fix 52.0 Scanner Error in any HP Printers (All Models)?
Step 1: First of all, Goto the Below Link and Download the Manual of your Printer Model.
(For Example – HP Laserjet Pro M1136 – Download the HP LJ M1130/M1210 MFP Series Service Manual (Part Number – CE841-90985)
You can Also Get the Service Repair Manual According to your Printer Models from the Below Link.
Link – https://www.laserpros.com/technical-resources/service-manuals/hp-service-manuals
Step 2: Now You can also Follow the Manual or If you want to Solve it Quickly Just Follow My Simple Steps.
Step 3:On the Backside of the Printer, You’ll See Two Screws. One on the Right Side and the Other on Left Side. First Remove the screw on the Left side (Back) & Raise Both the control-panel assembly & Scanner Assembly and then Remove the Left Cover.
Step 4: After Successfully Left Cover, Now Remove the Right Side Screw (Back). and Remove the Right Cover Gently. The next part is Removing the Front Cover.
Step 5: In Order to Remove the front cover, Press and Release tab at Both Left & Right sides of the product (Bottom). Now Lift Up the Front Cover Bottom away from the Product (or) Move it from Bottom to upwards to Release it.
Step 6: Now Remove the Screws which are available on the Metal Plate and Remove the Metal Plate Gently.
Step 7: Remove the Side Locks by Lifting them up on the Four Sides. Now You’ll See a Polygon Mirror/Prism Motor. Just Clean the Entire Laser Scanner Assembly Part and Remove any Particles If Present in it.
Step 8: Now Use Cotton to Clean the Lens and Polygon Mirror/Prism Motor Gently and Spin the Polygon Mirror/Prism Motor Gently with your finger to check whether it is spinning properly or not.
Step 9: Re-install the Removed Parts One by One Properly and Turn on the Printer. The Error Will be Surely Fixed.
If Still Error Persists then you need to Replace the Laser Scanner Assembly Part. Just Buy it and Replace it on your own if you’re Generally a Technical Person.
Solution 2: Service the Printer
Take the printer to the nearby HP Service Center or contact HP Support for On Site visit and diagnosis of the printer issue.
That’s It. You’re Done. Have a Nice Day.
@@@ Leave Comments @@@
##Stay Safe Guys And Live Happily ##