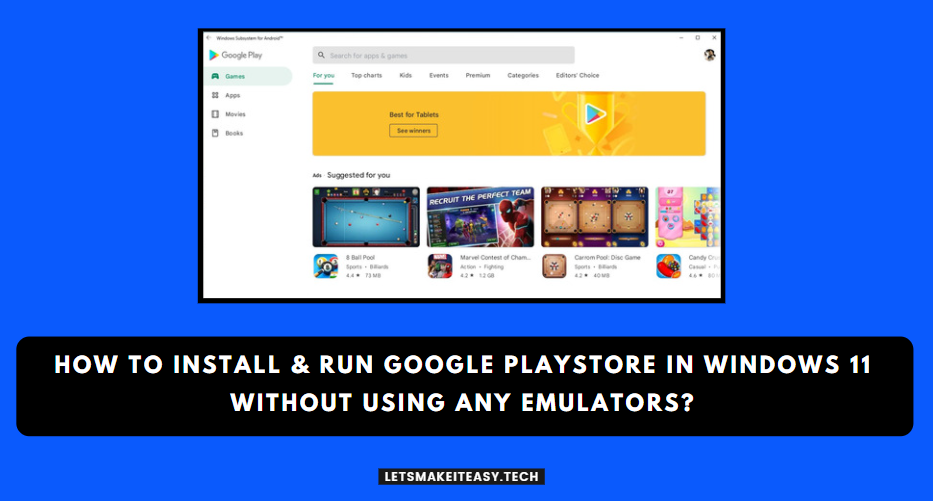
Hi Guys, Today I am Going to tell you How to Install & Run Google Playstore in Windows 11 Without Using any Emulators?
Check Out This: How to Fix “Some of these settings are hidden or managed by your organization” in Windows 10 & 11?
Are you Looking for the Commonly Searched Term “How to Install Google Playstore in Windows 11?” (or) “How to Download Google Playstore in PC?”.
You are at the Right Place to Get Your Answers & Solve the Issue/Error.
Let’s See About it.
Steps For How to Install & Run Google Playstore in Windows 11 Without Using any Emulators?
Step 1: Go to the Below Given Github Address and Follows the Steps Carefully.
https://github.com/LSPosed/MagiskOnWSA
Step 2: Now Click Fork Option to Copy the Repository into your Github account.
*Note – You Need a Github account to Do this. Just Create One If You’re Not Having.

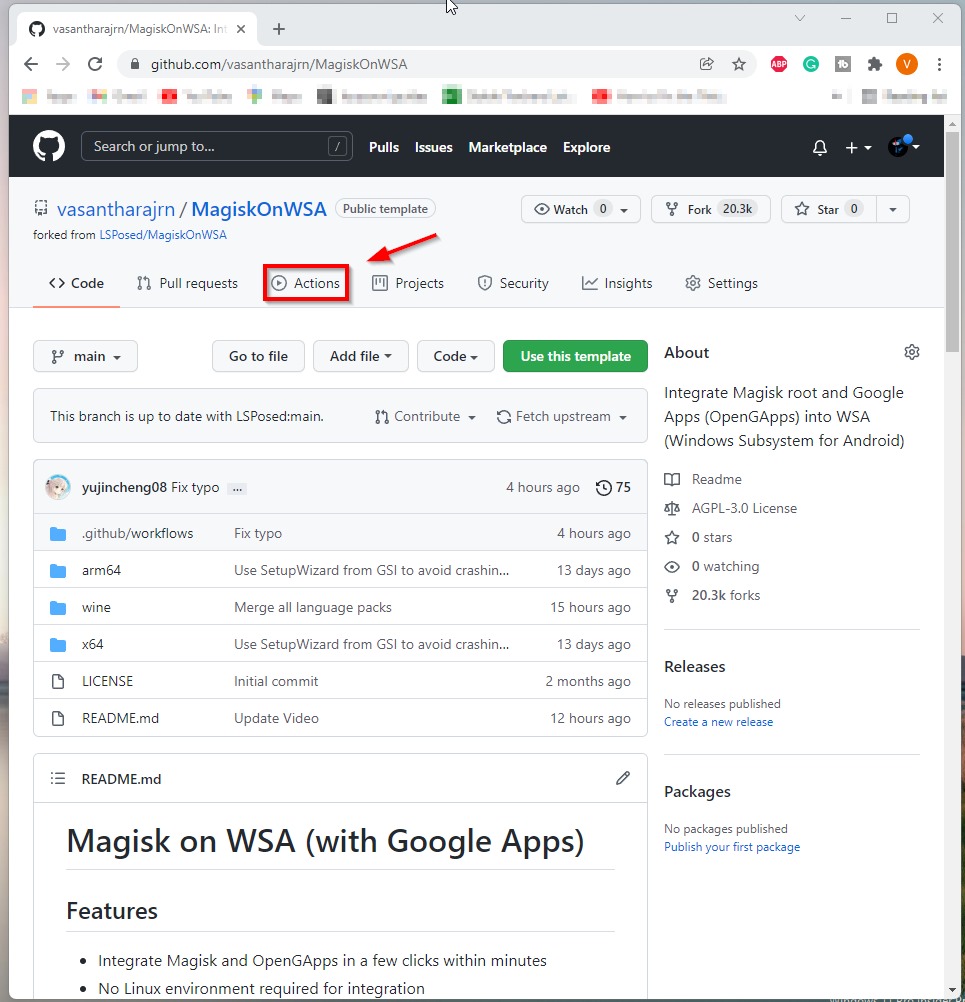
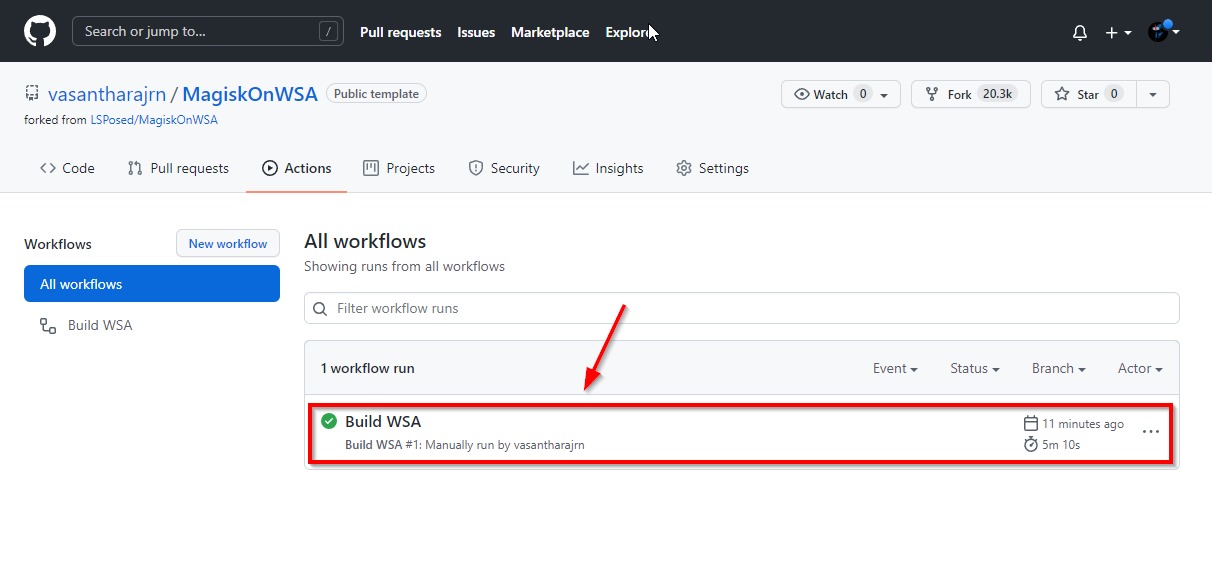
Step 3: Navigate to the Actions tab and click on it.
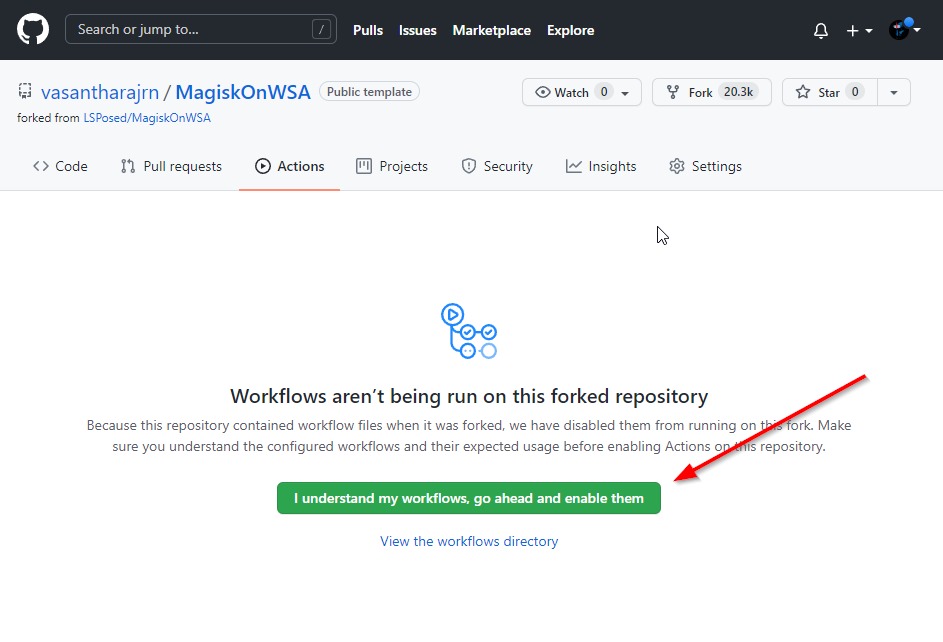
Step 4: Now Press the Green Coloured Button “I Understand my Workflows.Go Ahead and enable them.”
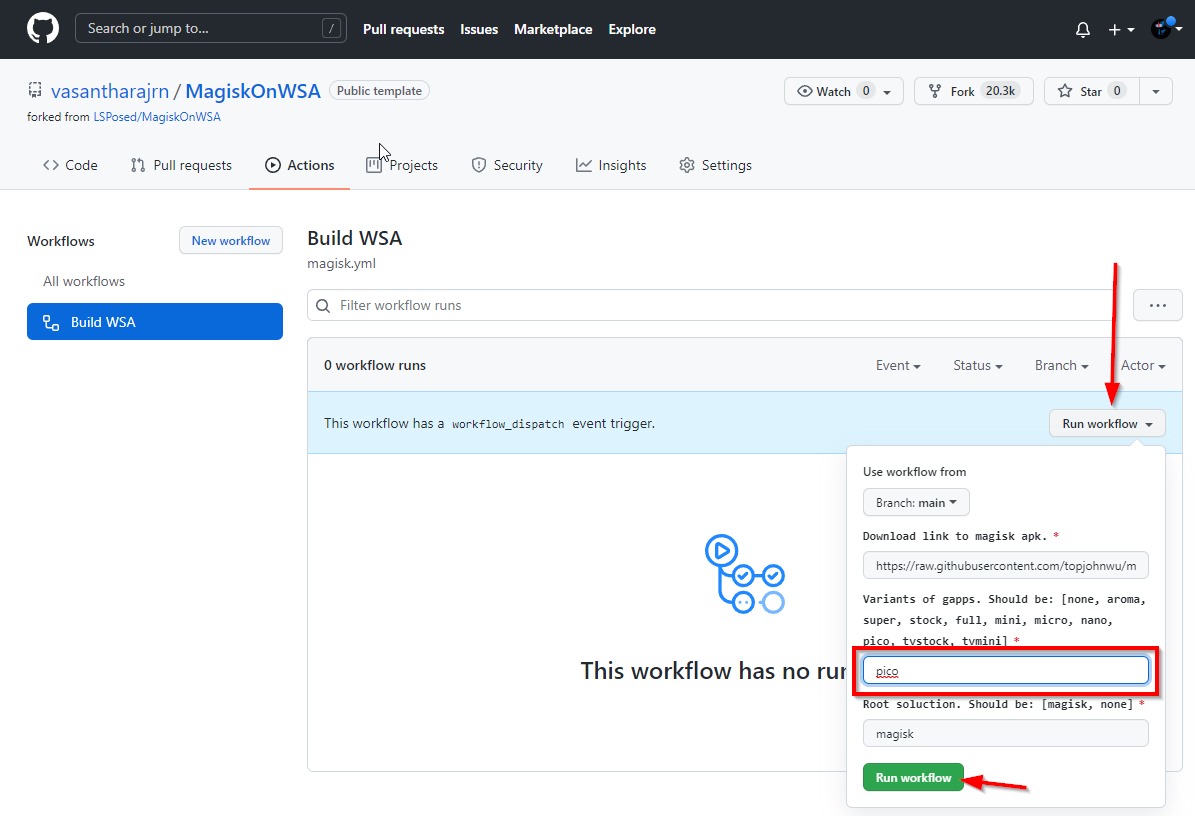
Step 5: Under Workflows, Click the Build WSA Workflow and Click on the Run Workflow Option and Type Pico and Press the Green Coloured Button “Run Workflow”.
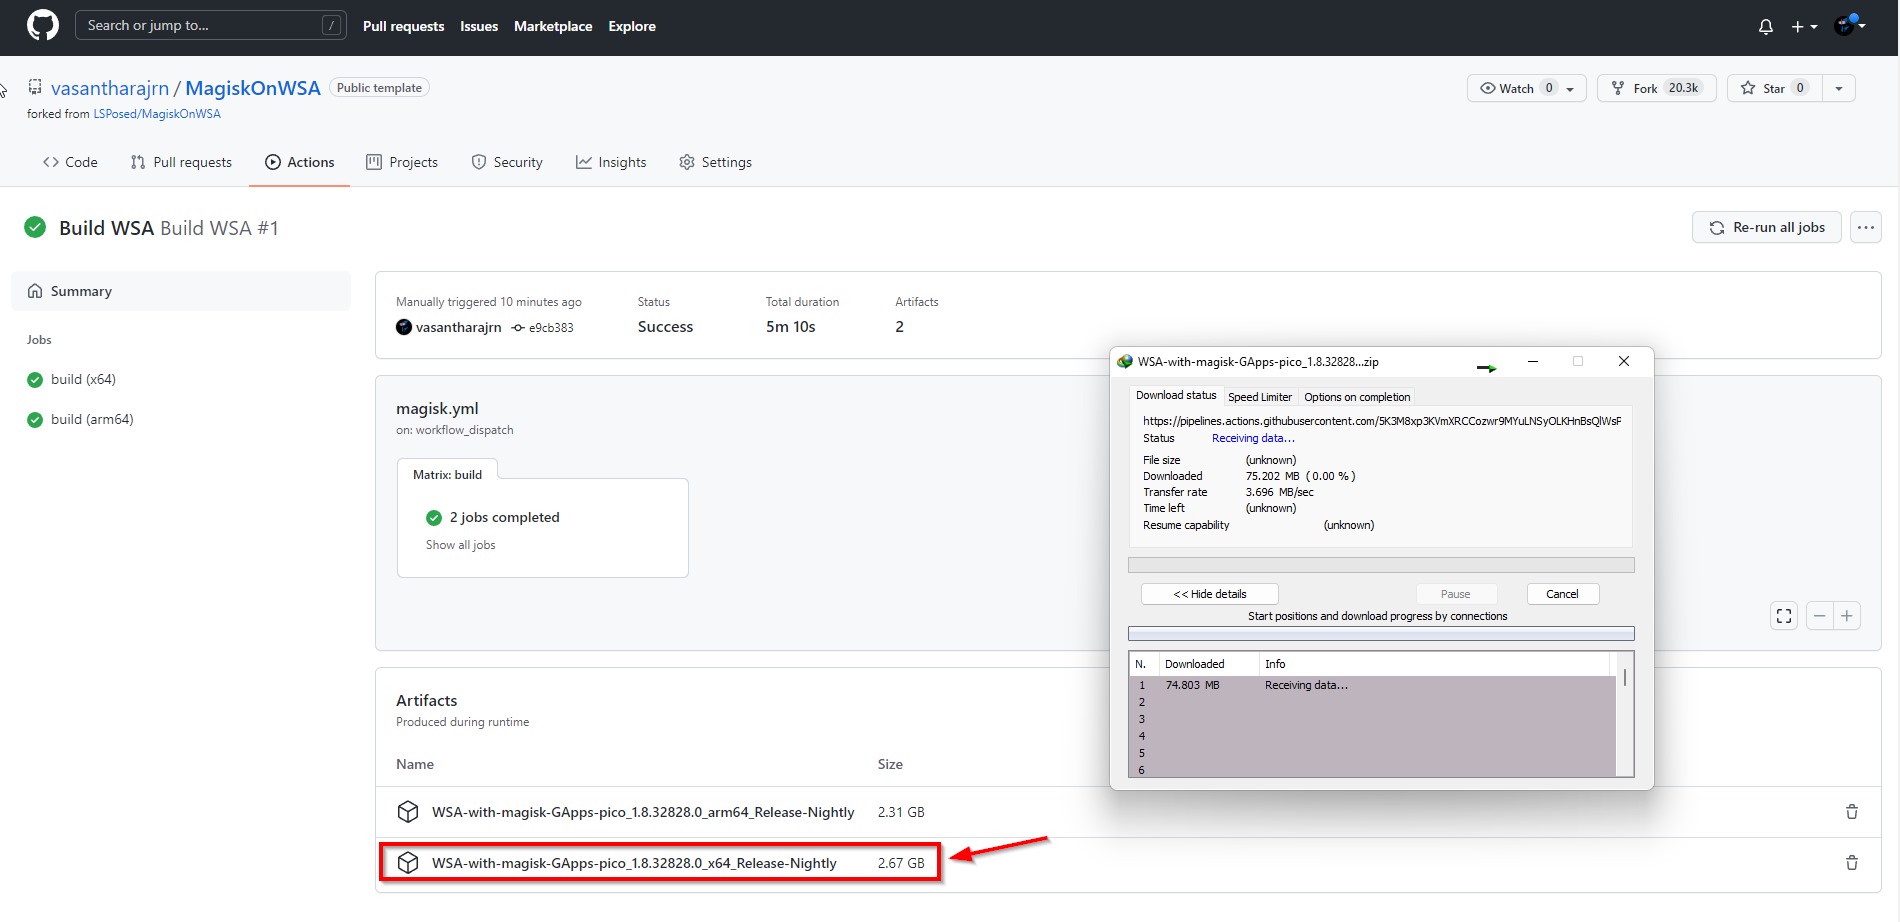
Step 6: Now Wait for a few Seconds and Click on the Build WSA to Generate Download Links.
Step 7: Now Click the WSA-with-magisk-GApps-ico_1.8.32828.0_x64_Release-Nightly to Start Download.
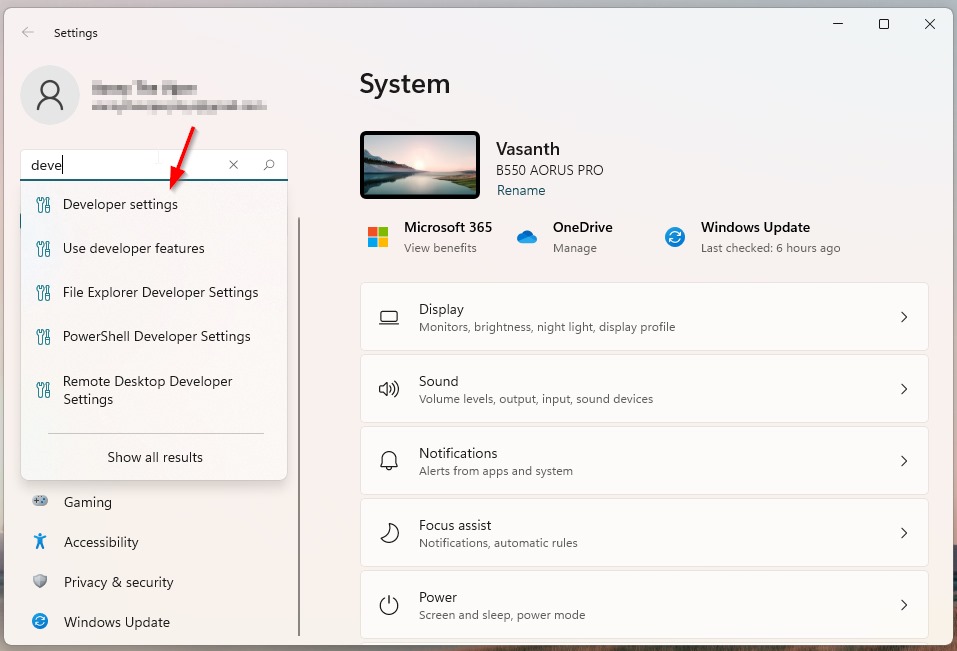
Step 8: Now Goto Settings and Search for Developer Settings and Open it.
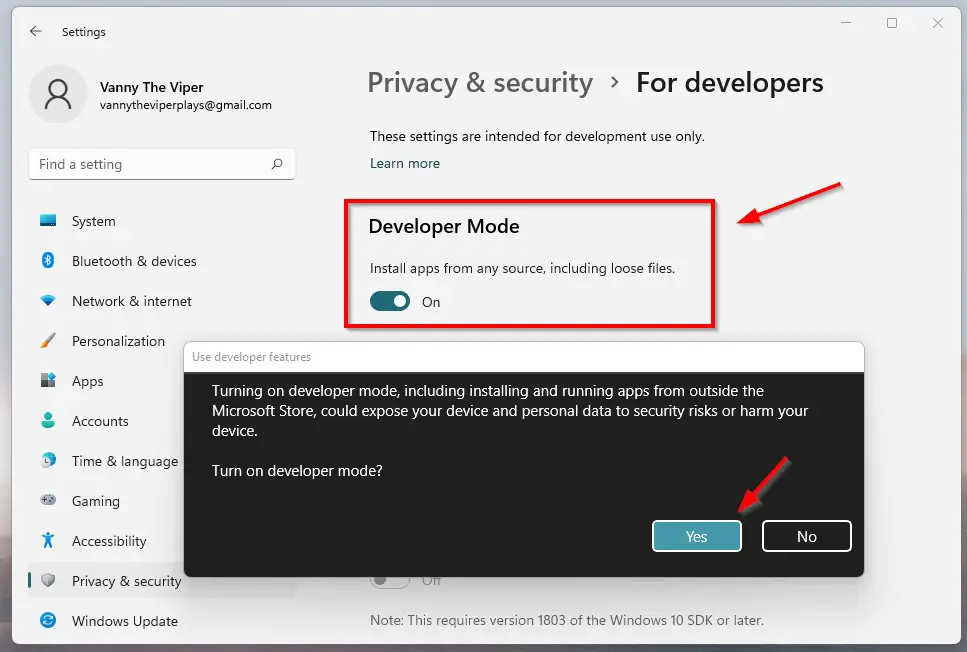
Step 9: Now Turn On the Developer Mode and Press the Yes Button When “Use Developer Features” Window Prompts.
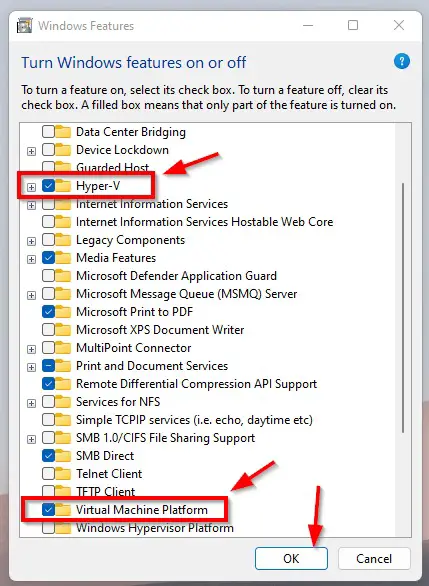
Step 10: Goto to Search Bar and Search the “Turn Windows Features On or Off” Settings.
Step 11: Now Check/Mark/Select the Hyper-V and Virtual Machine Platform Options and Press Ok.
Restart the PC.
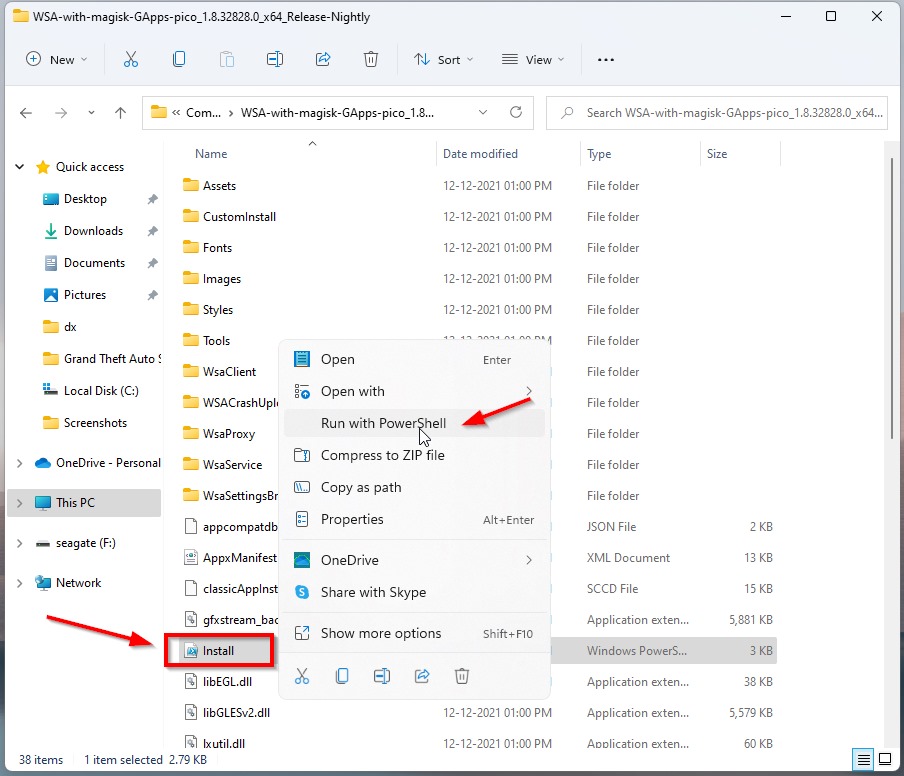
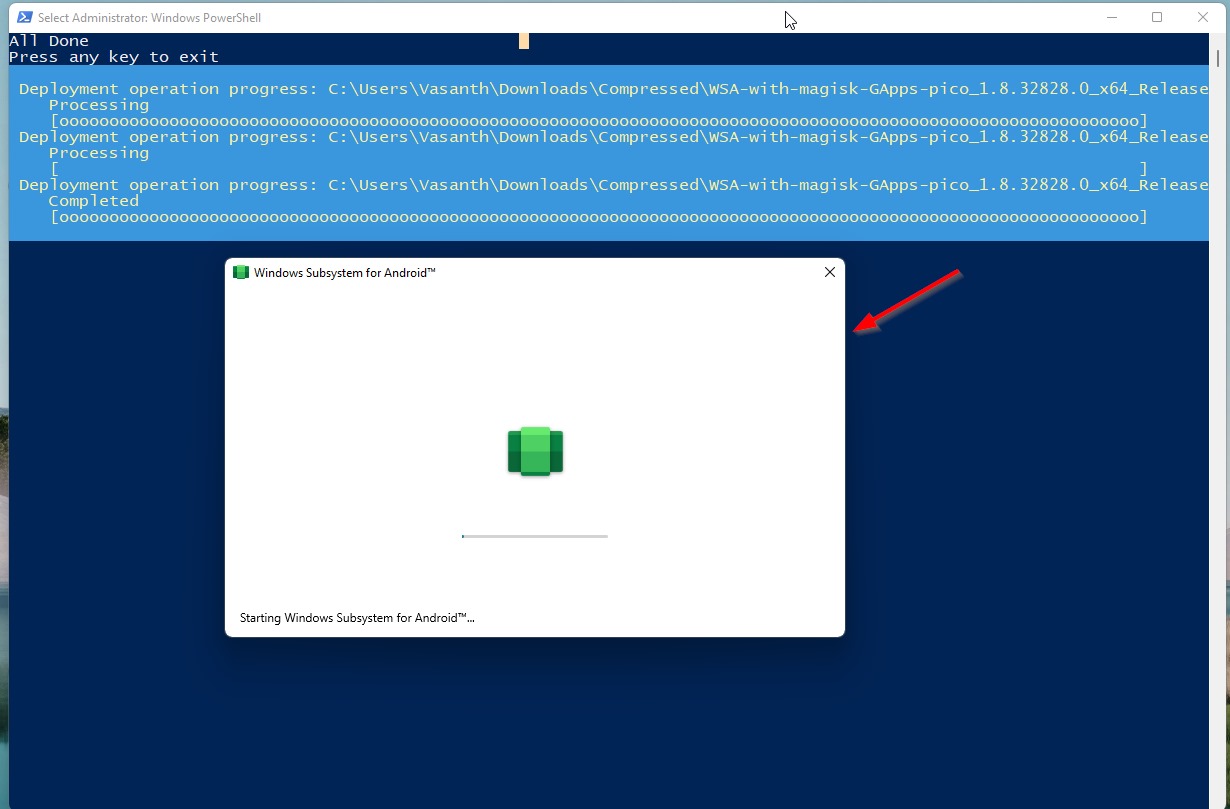
Step 12: After Downloading the WSA File, Extract the Zip File and Open the Extracted Folder and Right Click on the Install File and Select the Run with Powershell.
(Or)
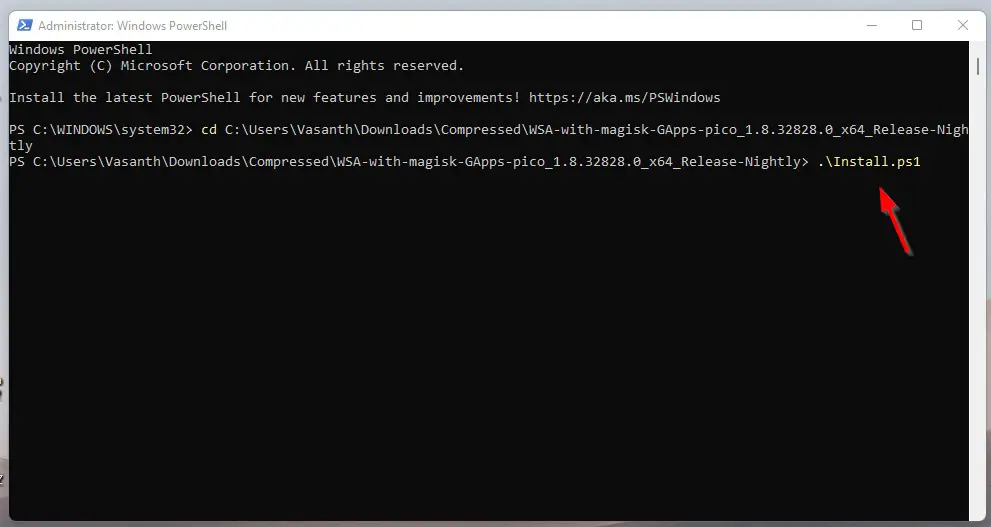
Open Windows Powershell as Administrator and Type the Following Commands
cd “Location of the Extracted Folder”
.\Install.ps1
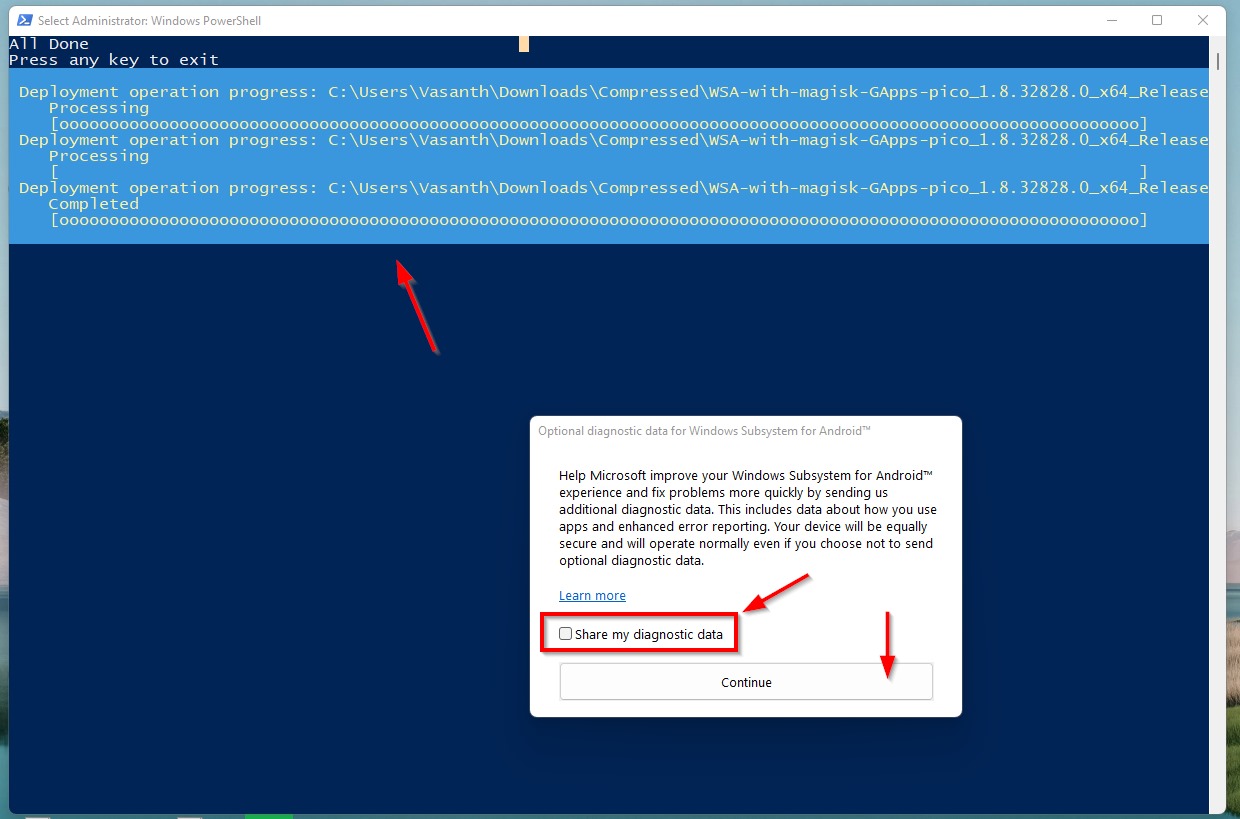
Step 13: Now Uncheck/Unselect the “Share my diagnostic data” Option and Press the Continue Button.
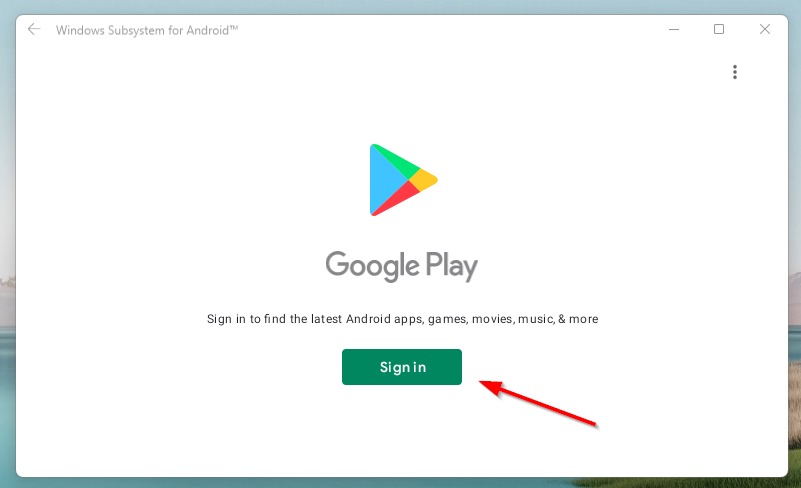
Step 14: Now Windows Subsystem for Andriod Will Run, Wait for a few Seconds and Sign in to Your Google Account.
Step 15: You’re Successfully Installed the Google Playstore in Windows 11.
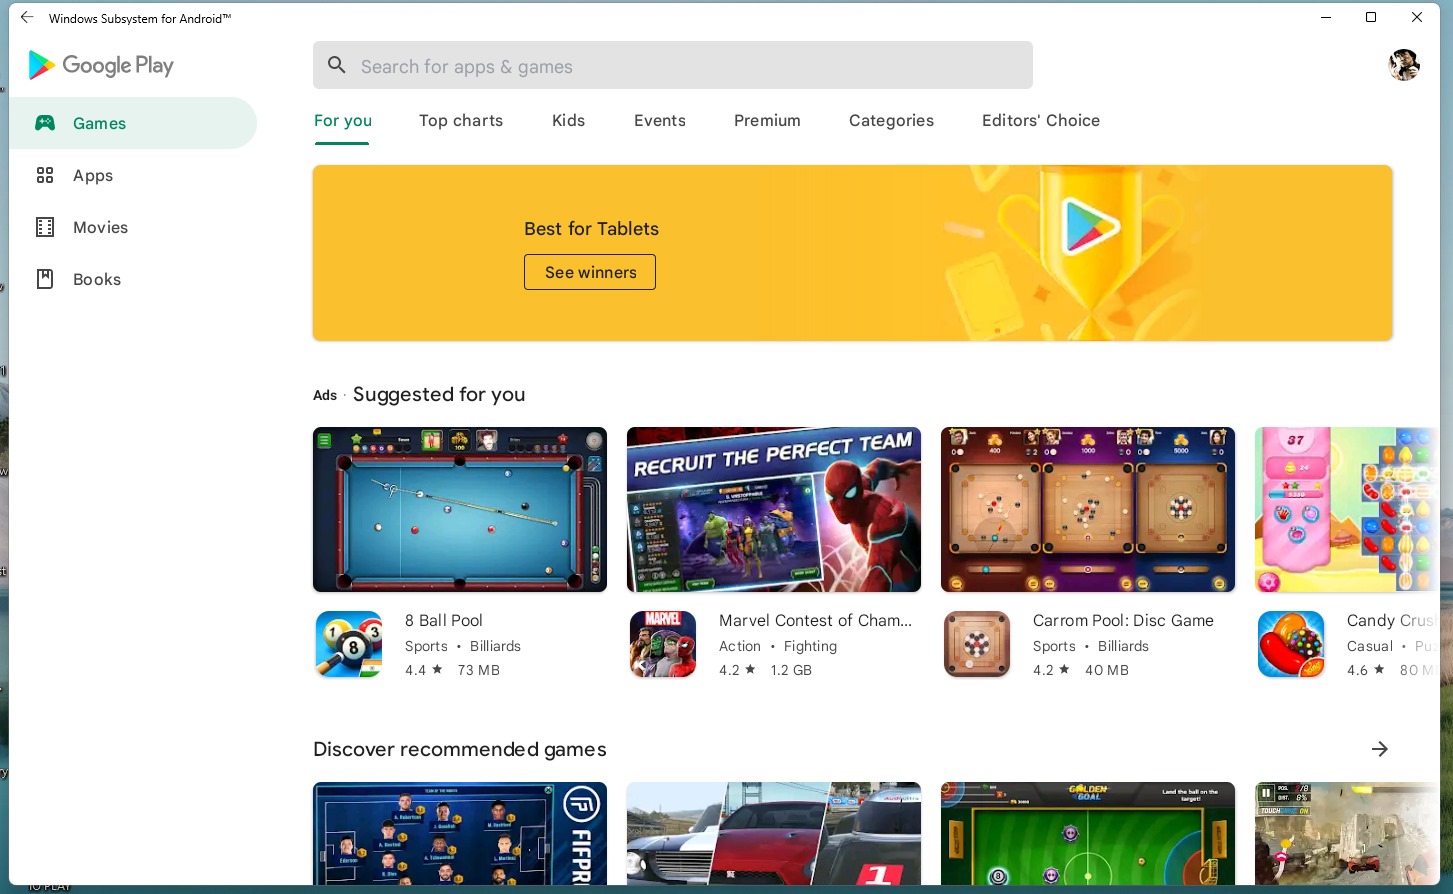
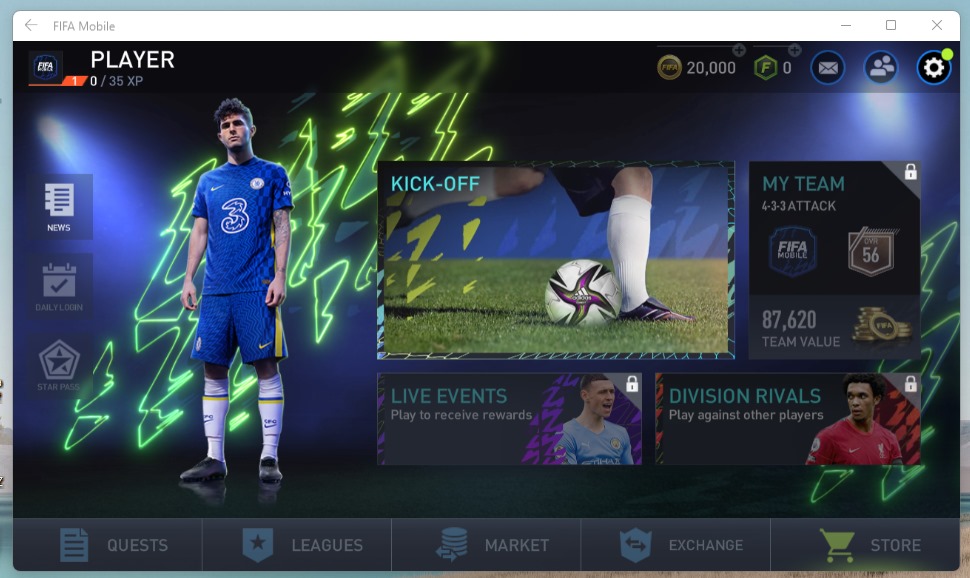
You Can Download and Install any Apps or Games and Run & Play it in Your Pc.
That’s It. You’re Done. Have a Nice Day.
@@@ Leave Comments @@@
##Stay Safe Guys And Live Happily ##