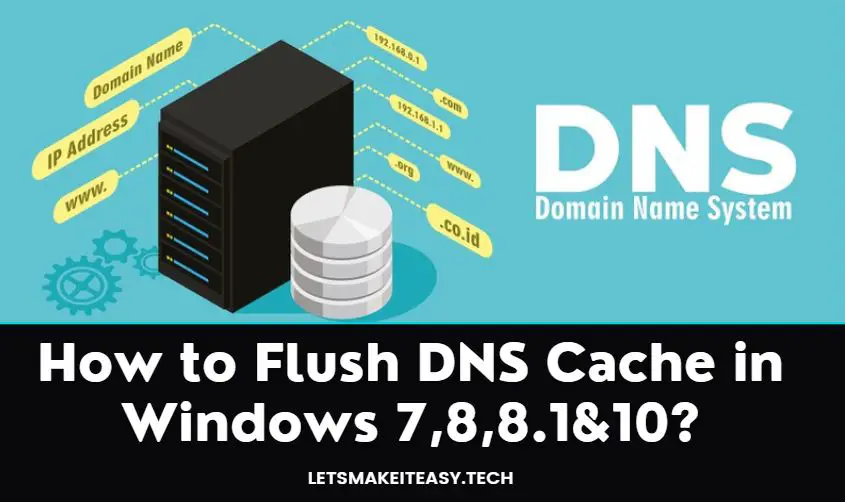
Hi Guys, Today I am Going to Show You How to Flush DNS Cache in Windows 7,8,8.1&10,11?
If You’re Looking for “How to Flush DNS Cache in Windows 7,8,8.1&10,11?” (or) “How to Clear DNS Cache in Windows 7,8,8.1&10,11?”.You are at the Right Place to Get Your Answers & Solve the Issue/Error.

Domain Name System (DNS) is generally said to be a directory of each and every website and its IP address on the internet.DNS has four main components. Domain Registrar, Nameservers, DNS Records, Web hosting service. Whenever we enter an URL of the website, Our browser asks DNS Server for a specific URL’s IP address. When the Browser gets the IP Address, then the browser loads the website easily.It is also called the “Phone Directory or PhoneBook”. If there is no DNS then we need to remember each and every IP Address of websites. That’s Impossible.DNS Makes it simple by connecting the Domain name with the IP Address of the website and makes it easy to remember.
DNS Caching plays a vital role in storing all the IP Addresses and their DNS Records and makes the website load quicker whenever the users visit the site in the future.Most operating Sytems and Browsers cache the IP address and its Domain Name System Records to Load the website faster whenever there is a request in the future. Next time, when You Enter the URL of the website it will be loaded very quickly if you’ve already visited the site.
Let’s see an example, If you visit a Website address (https://letsmakeiteasy.tech) for the first time, then the browser access the DNS servers and finds the information about it & stores the information in the local cache, and then Opens the site. Next time, If you visit the same website (https://letsmakeiteasy.tech), then the browser will look for its DNS information that is previously got stored in the local cache and loads the website much faster.
So If you Flush the DNS, then the IP Address and other DNS Records of each and every website from your cache will be cleared. Flushing DNS can help in fixing internet connectivity issues and network-related problems.DNS Cache even gets corrupted and may also cause network issues if you’re using it for a long period of time. So Flusing the DNS is very important and also very useful. Flushing DNS is so simple in the windows operating system. If you don’t know about DNS Flushing then Just Follow our Below Steps to Flush the Domain Name System(DNS) Cache.
Steps For How to Flush DNS Cache in Windows 7,8,8.1&10,11?
Method 1: Using Command (Most Recommended Method)
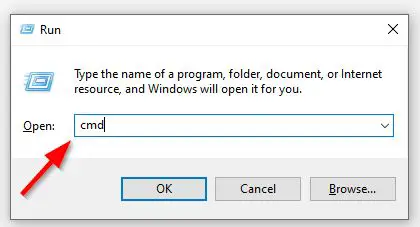
Step 1: First of all Go to Start and Type Cmd or Command Prompt Or Access Command Via Run Program.
Step 2: Right-click Command Prompt, Just choose “Run as Administrator”.
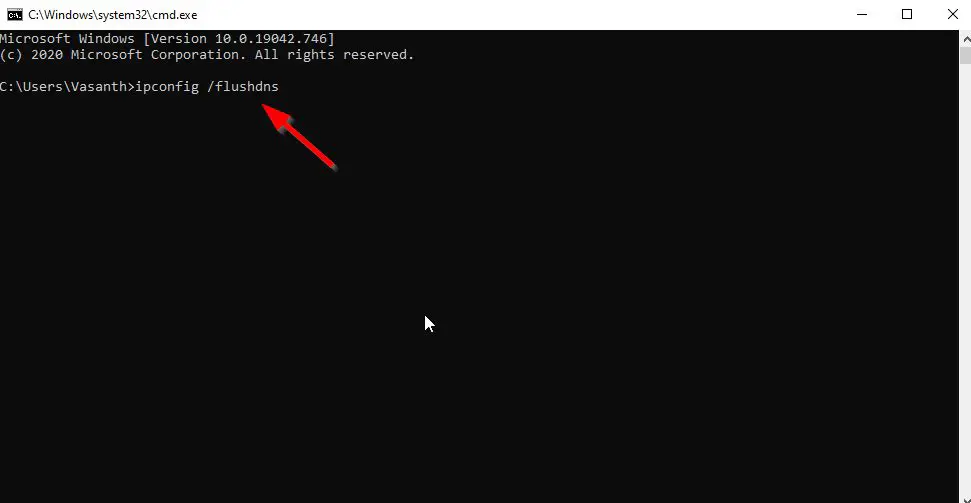
Step 3: Now Just Type ipconfig /flushdns and press Enter.
(Important Note – There Must be a space before the slash)
Now You’ll See a Message Like This
Windows IP Configuration
Successfully flushed the DNS Resolver Cache.
* Your Command Prompt Will Look Like This *
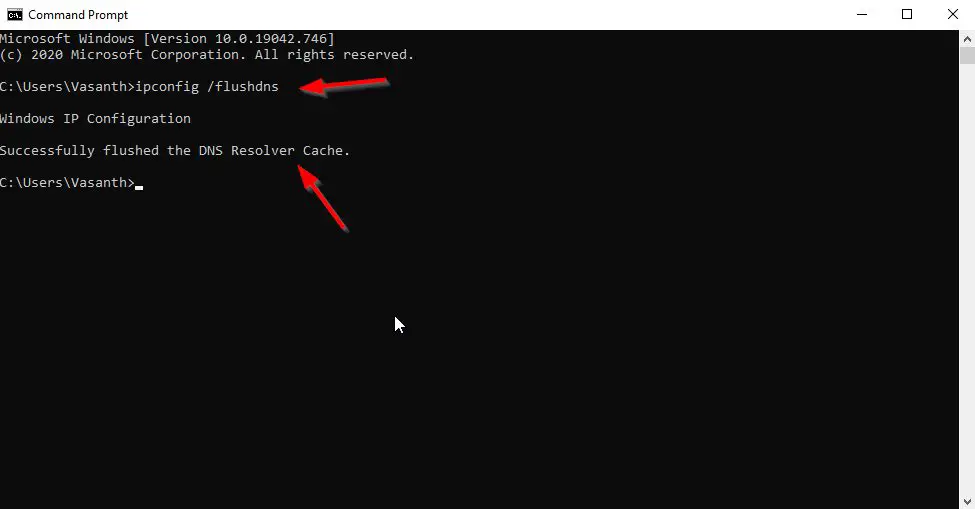
Microsoft Windows [Version 10.0.19042.746]
(c) 2020 Microsoft Corporation. All rights reserved.

C:\Users\Username>ipconfig /flushdns

Windows IP Configuration

Successfully flushed the DNS Resolver Cache.

C:\Users\Username>
Method 2: Using Windows PowerShell
Step 1: First of all Go to Start and type Powershell or Open Run Program And Type Powershell.
Step 2: Right-click Windows Powershell App, Just choose “Run as Administrator”.
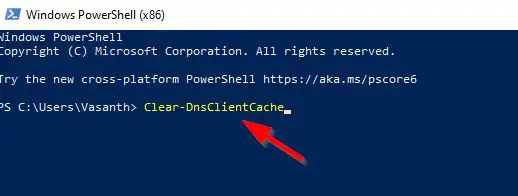
Step 3: Type the Following Command And Press Enter.
Clear-DnsClientCache
Clear-DnsClientCache That’s It. You’re Done. Have a Nice Day.
Give Your Reviews / Reactions, Leave Comments, and Ask Your Doubts.
We are here to Help You!