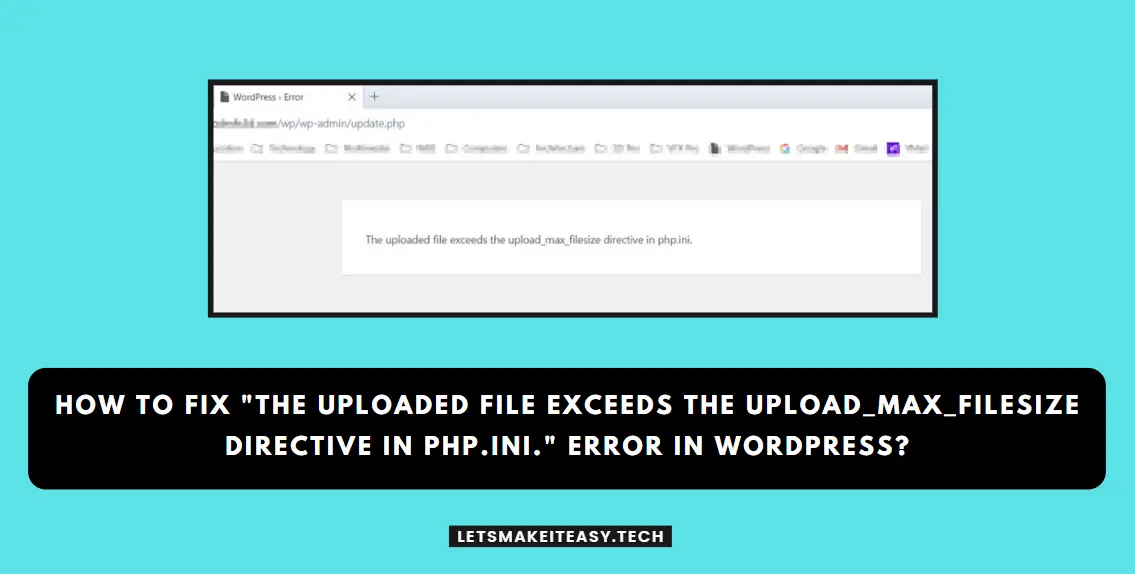
Hi Guys, Today I am Going to tell you How to Fix “The uploaded file exceeds the upload_max_filesize directive in php.ini.” Error in Wordpress?
Check Out This: How to Install & Run Google Playstore in Windows 11 Without Using any Emulators?
Are you Looking for the Commonly Searched Term “How to Resolve “The uploaded file exceeds the upload_max_filesize directive in php.ini.” Error in Wordpress?” (or) “How to Fix “The uploaded file exceeds the upload_max_filesize directive in php.ini.” Error in Wordpress?”.
You are at the Right Place to Get Your Answers & Solve the Issue/Error.

Let’s See About it.
Steps For How to Fix “The uploaded file exceeds the upload_max_filesize directive in php.ini.” Error in Wordpress?
Method 1: Using MultiPHP INI Editor
Step 1: First of all, Go to your Web Hosting Website and Log in to your account.
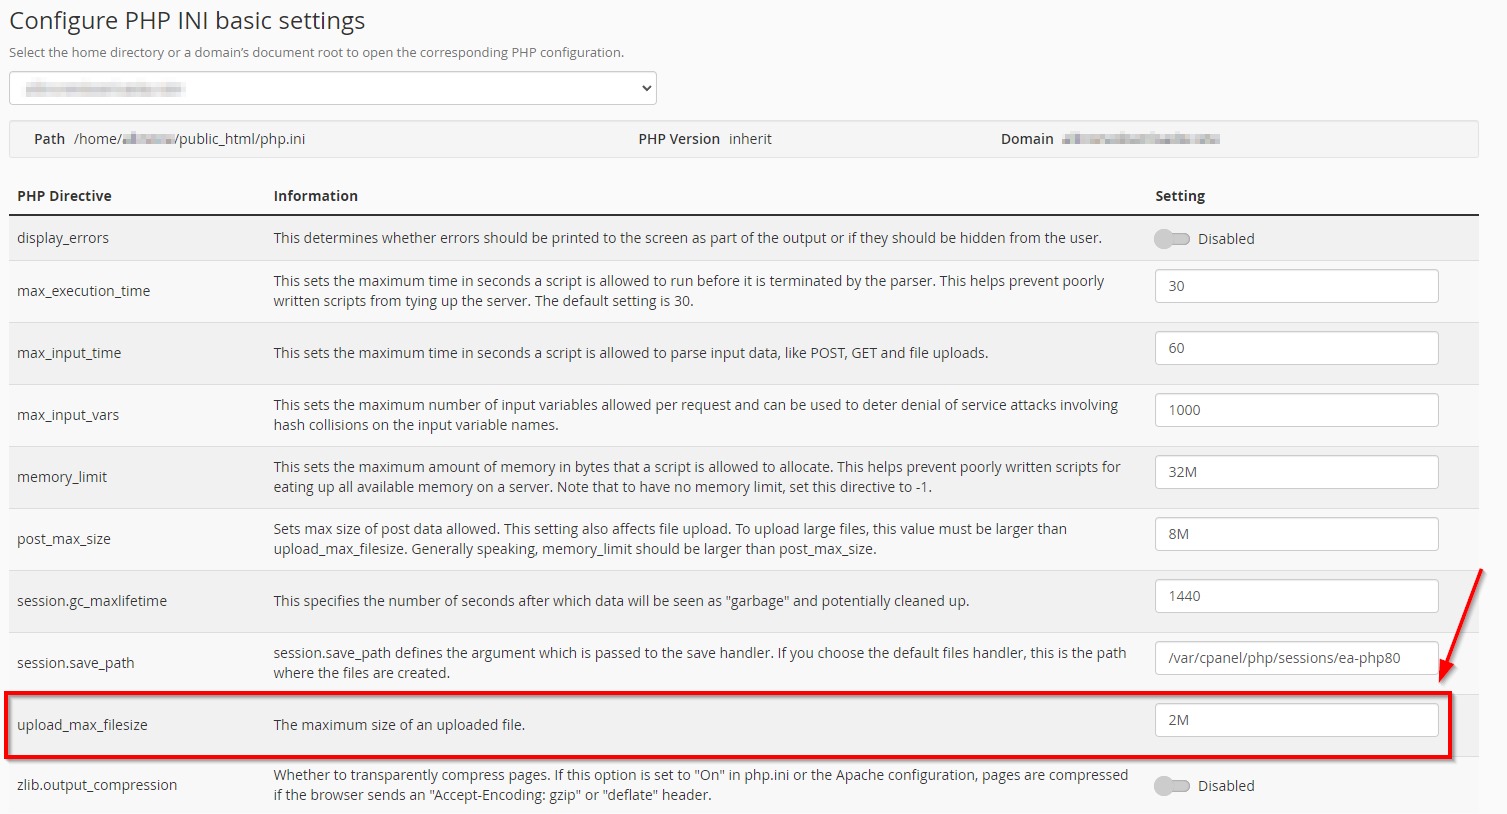
Step 2: Now Open your C-Panel Navigate to Software Section and Open the MultiPHP INI Editor.
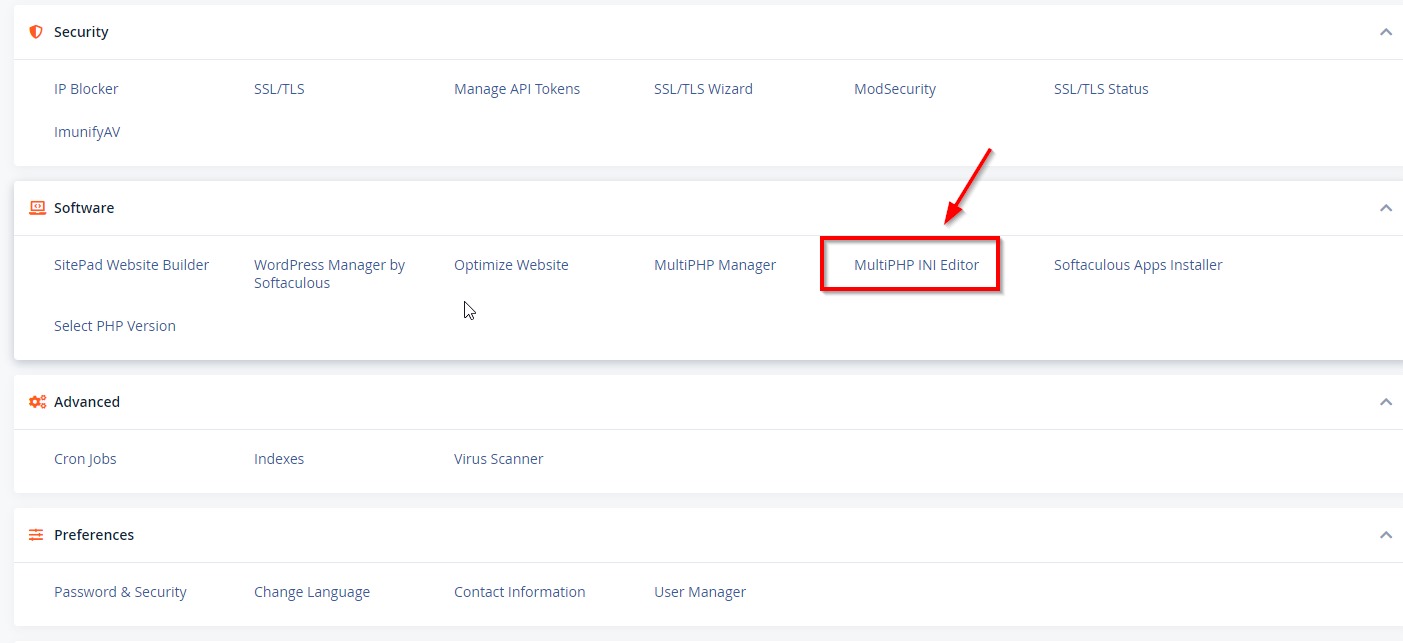
Step 3: Now Choose your Site from the drop-down box and Now edit the upload_max_filesize PHP directive Value. Just Increase the value based on your needs.
Refresh your Website and Check Again.
Method 2: Using the .htaccess File
Step 1: First of all Go to Your Web Hosting Site and Log into Your CPanel.
Step 2: Navigate to File Manager and Open Public_Html Folder.
Step 3: Now Right Click on the .htaccess File and Click Edit Option to Edit the .htaccess File.
Step 4: Add this Piece of Lines into the .htaccess File.
php_value post_max_size 256M
php_value memory_limit 512M
php_value max_input_time 180
php_value max_execution_time 180
php_value post_max_size 256M php_value memory_limit 512M php_value max_input_time 180 php_value max_execution_time 180
Step 5: Save the File and Refresh the Website.
Method 3: Try to Increase the Memory Limit Wp-Config.php
Step 1: First of all Go to your Web Hosting Site and Log into Your CPanel.
Step 2: Navigate to File Manager and Open Public_Html Folder.
Step 3: Now Right Click on the Wp-Config.php File and Click Edit Option to Edit the Wp-Config.php File.
Step 4: Add this Piece of Lines into the Wp-Config.php
@ini_set(‘upload_max_size’ , ‘256M’ );
@ini_set('upload_max_size' , '256M' );
Step 5: Save the File and Refresh the Website.
Method 4: Update the Memory Limit Manually via php.ini File
Step 1: First of all Go to your Web Hosting Site and Log into Your CPanel.
Step 2: Navigate to File Manager and Open Public_Html Folder.
Step 3: Locate php.ini file and Right Click on the php.ini File and Click Edit Option to Edit the php.ini File.
Step 4: Now Locate the upload_max_filesize and Just increase its number.
(or)
Step 4: Delete the Older php.ini file and Create a New php.ini File and Add this Piece of Lines into the php.ini File
upload_max_filesize = 256M
post_max_size = 256M
memory_limit = 512M
max_execution_time = 180
upload_max_filesize = 256M post_max_size = 256M memory_limit = 512M max_execution_time = 180
Step 5: Save the File and Refresh the Website.
That’s It. You’re Done. Have a Nice Day.
@@@ Leave Comments @@@
##Stay Safe Guys And Live Happily ##